To edit or insert a title, you will have to use the user-friendly ONIXEDIT Cloud Entry Form. To do so, you can create a new title by clicking on the New Title button in the Main List:

Or you can double-click an existing title or click on its Pen icon to edit the corresponding title:

You can also make a copy of an existing title by using the duplicate icon:

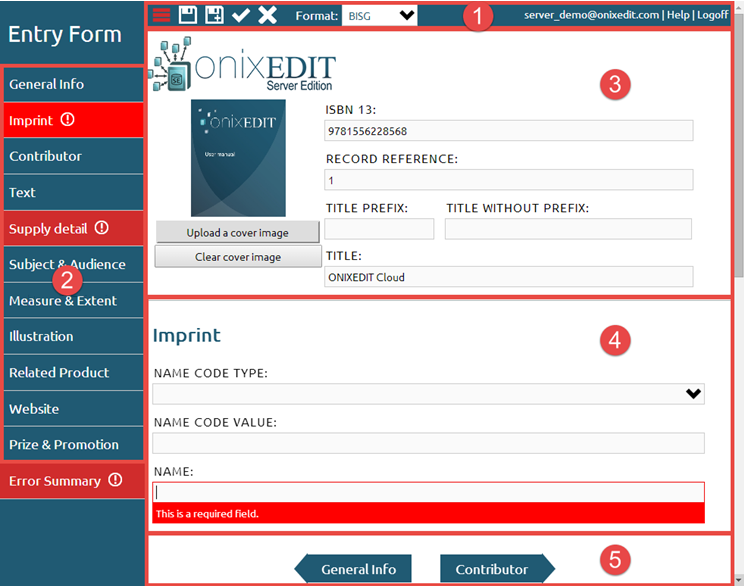
Whatever action you take, you will then get access to the ONIXEDIT Cloud Entry Form:

The following sections are identified from 1 to 5 in the above screen capture:
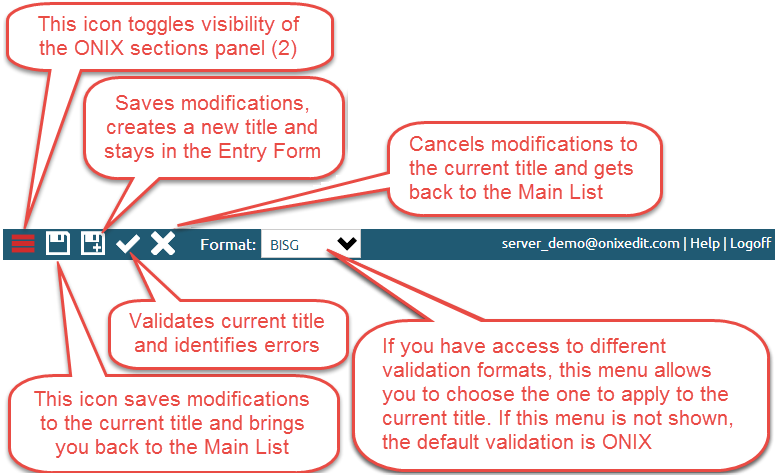
- At the top, you will find the toolbar:

- At the left side, you will find the ONIX sections panel:

You can go directly to a specific section by clicking on it. If a section has a validation error, it will be displayed with a red background. The last section named "Error Summary" will present you a list of all validation errors in your current title. For more information about validation, see the Title validation subtopic.
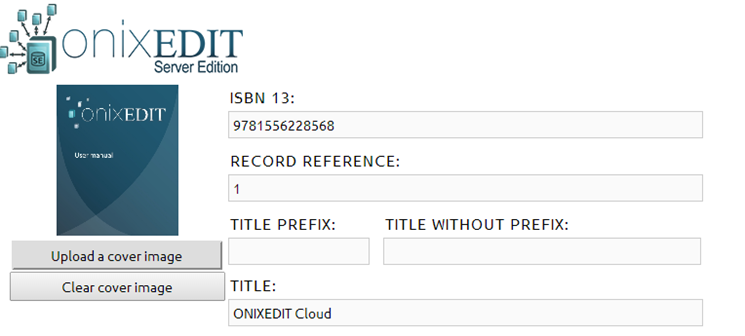
- Under the toolbar, you will find persistent information such as the cover image and title that will appear no matter what ONIX section is selected.

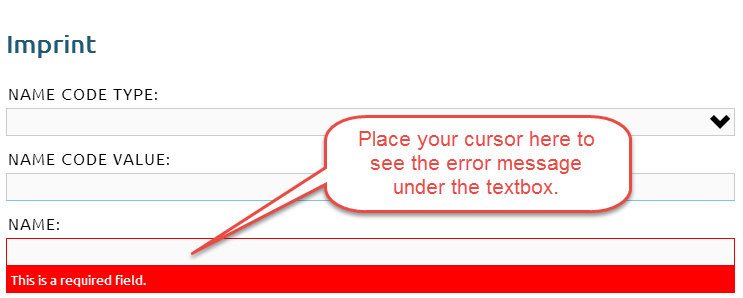
- Directly under the title, you will find the current ONIX section with the metadata fields that you can define. If the section contains validation errors, you will easily spot them as the erroneous fields are framed in red. You can also get detailed error message by placing your cursor over each erroneous field:

- At the bottom, you will find arrows to browse to the previous or next ONIX section:


