The Schedule module is the main module of ONIXEDIT Scheduler. You can define as many different schedules as you want. Each schedule is dedicated to deliver metadata files and, optionally, asset files to your trading partners according to a specific frequency.
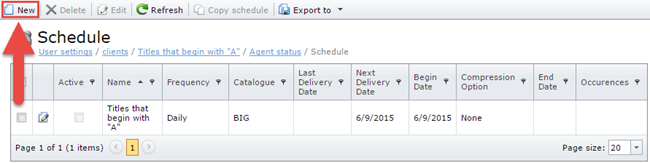
To create a new schedule, click on the New button in the tool bar above the Schedule list:
You should see this screen:
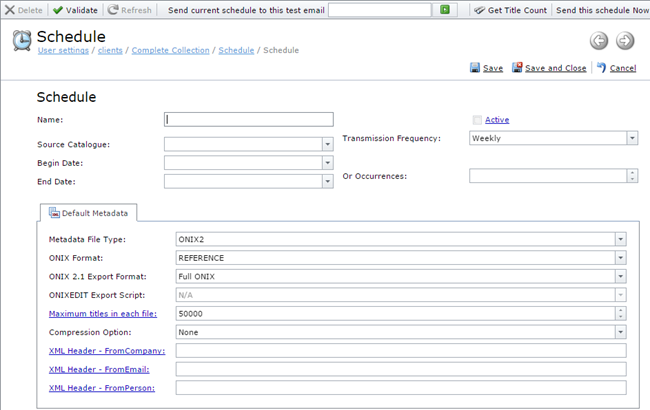
At the top of the form, you will fill the Schedule name and when the schedule should be executed. You must at least define the Schedule name, a beginning date and the frequency at which you want the schedule to be executed. Optionally, you can also set an end date or the number of occurrences after which the schedule will be automatically deactivated.
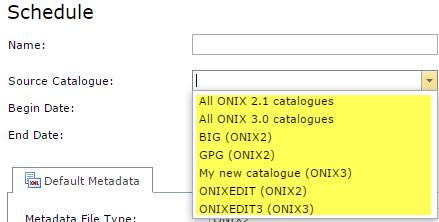
You must also select a Source Catalogue from your ONIXEDIT Server:
The following screen capture defines an active schedule to transmit metadata from the ONIX 2.1 catalogue "BIG" that will be executed three times starting from 2015-06-01 at the first of each month:

Default Metadata
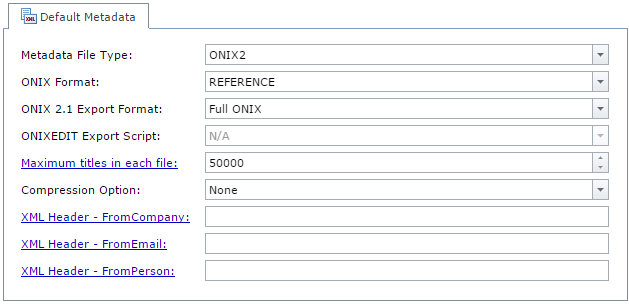
The Default Metadata section is where you will define the type and format of metadata files that will be delivered to your partners (Recipients):
After having filled those fields, you should now save your new schedule and complete it with recipients. Indeed, a schedule must be Active prior to be executed by ONIXEDIT Scheduler. By default a schedule is not active.
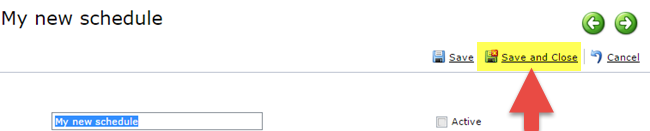
To activate a schedule, you must first Save it and add at least one Recipient to it.
To do so, click on Save and Close:
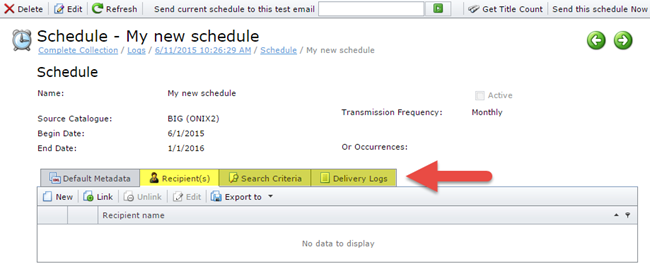
You will stay in your new schedule record and new sections will appear in the form:
Recipient(s)
You must provide at least one recipient for each new schedule prior to make it active.
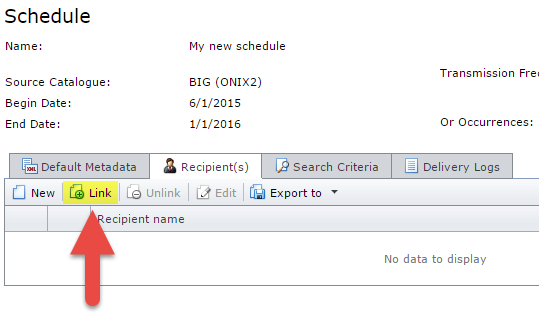
If the Recipient you want to assign to a schedule is already defined from the Recipient module, just click on the Link button in the tool bar above the Recipients list:
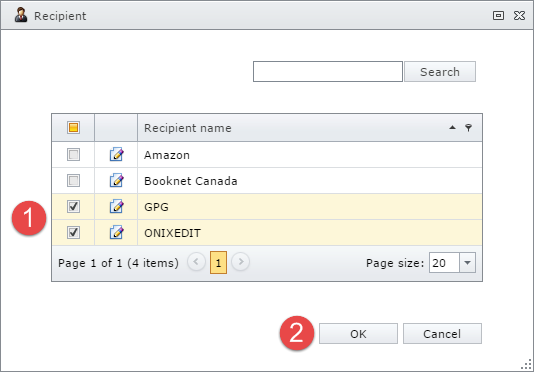
You will then see a list of available recipients. Just select the ones you want to assign to your schedule and click OK:
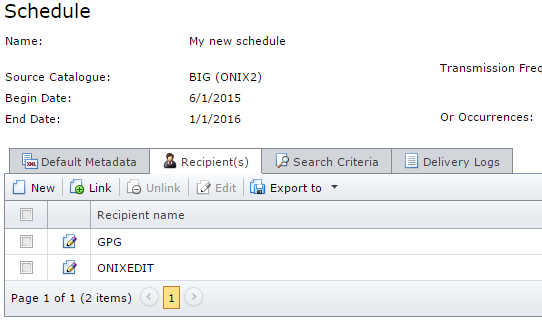
You should then see the selected recipients in the Recipient(s) list of your schedule:
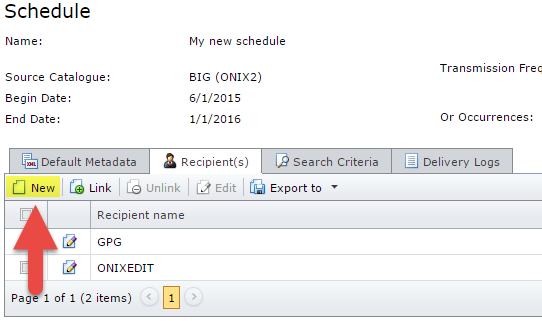
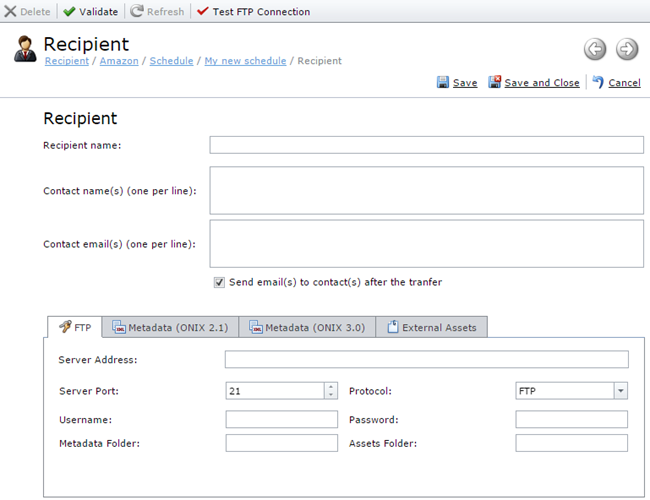
You can also create a new Recipient directly from your schedule by clicking on the New button:
You will then see the Recipient Form. Refer to Recipients section for more information on its usage:
Search Criteria
The Search Criteria section is optional. If you leave it blank, the schedule will produce metadata files having the complete set of titles coming from the selected ONIXEDIT Server catalogue. But of course, you can reduce the result set to select only the titles you want to deliver to your partners. Click on the New button in the Search Criteria grid to add a new criterion. You should see this screen:
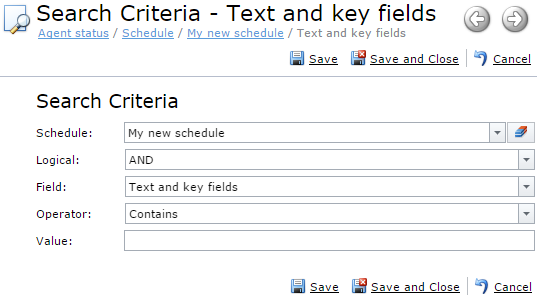
The Schedule field is set automatically with the name of the current schedule. Use the other fields to define your search criterion. When completed, click on Save and Close.
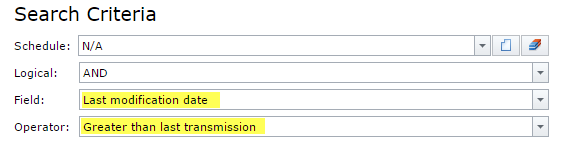
If you want to transmit only updates (new or modified titles) since last transmission of the current schedule, you can use the special field "Last modification date" combined with the operator "Greater than last transmission":
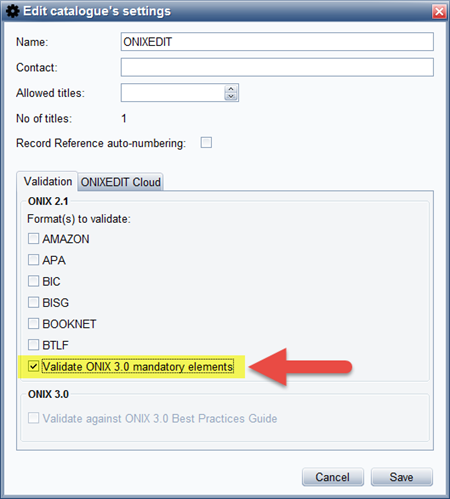
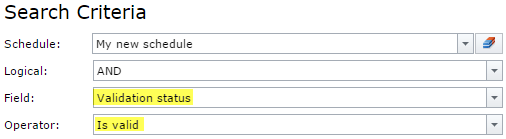
If you want to be sure that only valid ONIX titles will be sent, then add this criterion:
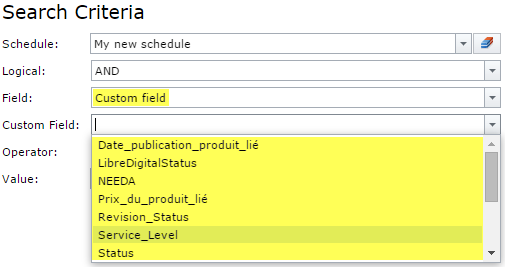
You can even add a criterion using your own custom fields:
As an example, the following criteria will produce metadata having only valid titles with Custom Field "Revision_Status" equals to "Completed" that have been modified or added since last transmission:

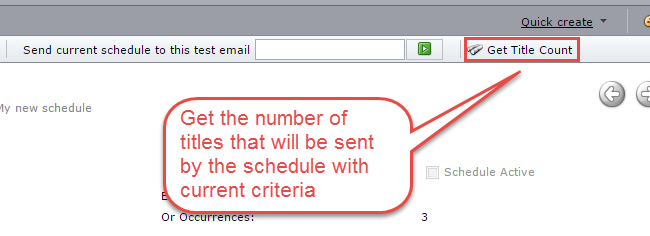
At any time, you can find out how many titles the schedule will produce by clicking on the "Get Title Count" button in the toolbar:
You can also test a schedule at any time. To do so, enter your email address as indicated below, and press on the green button:
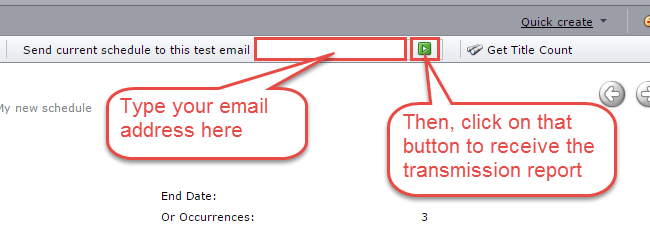
The schedule will be placed in a test queue to be processed by the scheduler agent. Once completed, you will receive the transmission report by email. Because it is a test, the metadata file won't be uploaded to the FTP server defined in the schedule. However, you will find, at the bottom of the report, a section automatically added with a link that you can use to download the resulting metadata file if you want to verify it:

Activate a schedule
Once your schedule is defined and tested, you can activate it and let ONIXEDIT Scheduler deliver your metadata to your partner.
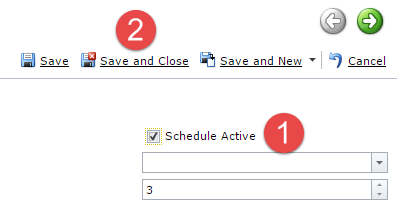
1- Edit the schedule you want to activate.
2- Check the "Schedule Active" checkbox and click on Save and Close:
Your new schedule is now ready for processing.
Forcing a schedule to execute
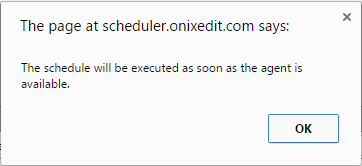
If you want to force a schedule to execute as soon as possible, open it and click on the "Send this schedule now" button at the right of the tool bar:

You should get this message: