Manage Media File Types for Cloud
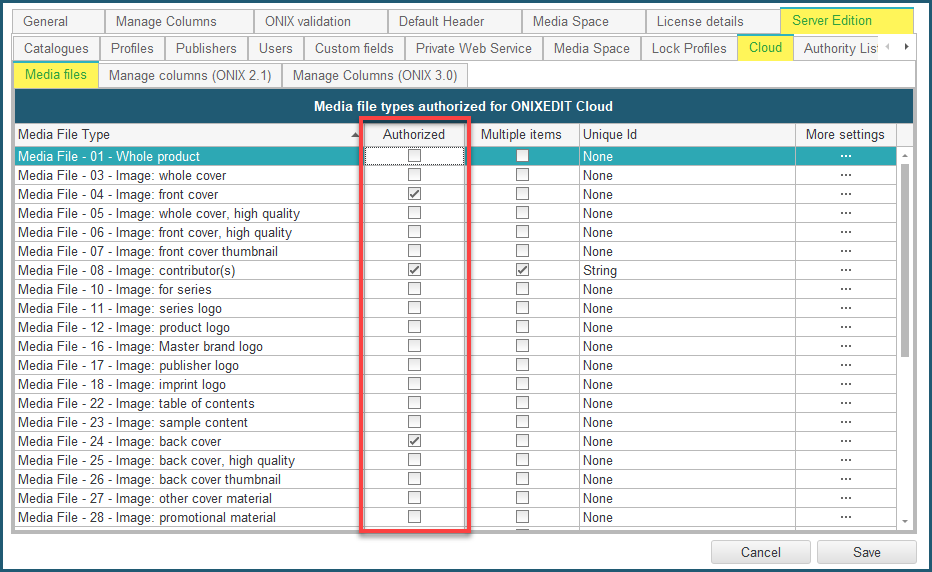
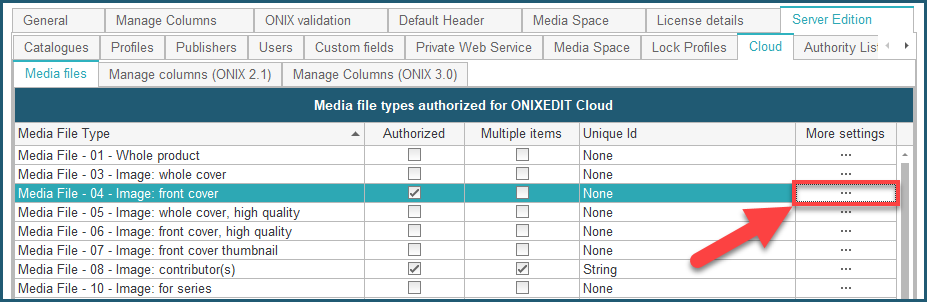
From your ONIXEDIT Preferences, you can use the Server Edition / Cloud / Media files tab to define which media file types you want to authorize for viewing/editing from ONIXEDIT Cloud.
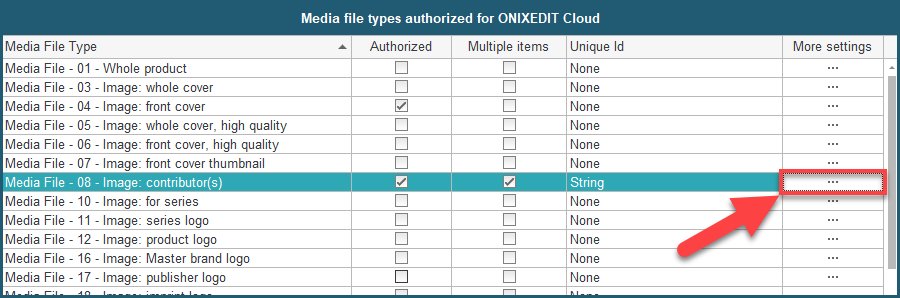
Just toggle the check-boxes under the Authorized column to allow/disallow each media file type:
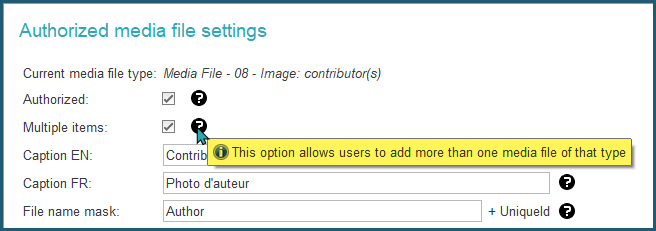
You can also click on the More settings button on the right to get access to a form similar to the following:
Tip: activate the Show help check box at the bottom to get contextual help on each field:
The Media Files configuration that you will set will apply to all your ONIXEDIT Server catalogues accessible from ONIXEDIT Cloud.
To explain the usage of the More settings dialog, we will go through two different common cases.
1. Configuring a cover image settings for ONIXEDIT Cloud
We want to allow ONIXEDIT Cloud users to define one cover image per title and rename uploaded cover image files using the ISBN of the title. To do so, first click on the More settings button corresponding to Media File - 04 - Image: front cover (ONIX 2.1):
Next, click on the Authorized check box (1) and make sure that Multiple items is not selected (2). Define also the captions that you want to show under the cover images for your English and/or French users (3).
The File name mask field allows you to rename the media file that will be uploaded by the user in order to apply a standard naming convention for those files. If you leave that field blank, ONIXEDIT Cloud will keep the original filename or will use the Unique Id if defined. You can use any of the following tokens: [ISBN], [ISBN13] or [RecordReference] along with static prefix/suffix strings.
For instance, if you set it to be "COVER_[ISBN13]", the resulting filename of a cover image named "abc.jpg" uploaded for title 9780006391555 will be "COVER_9780006391555.jpg".
Set File name mask field to "[ISBN13]" (4).
Finally, make sure that the Unique Id drop-down menu is set to "None" (5). Your dialog should look like the following:

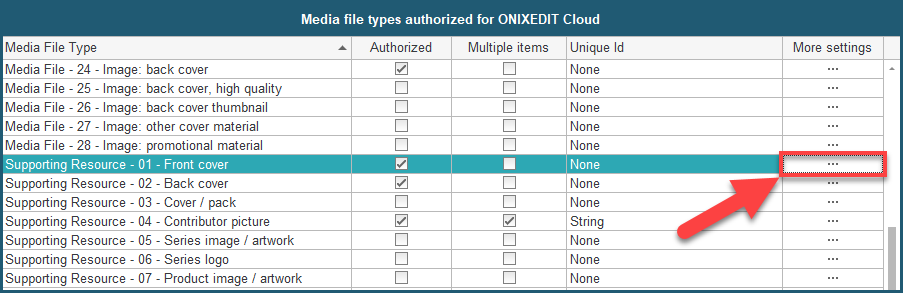
Repeat the steps above for Supporting Resource - 01 - Front cover (ONIX 3.0):
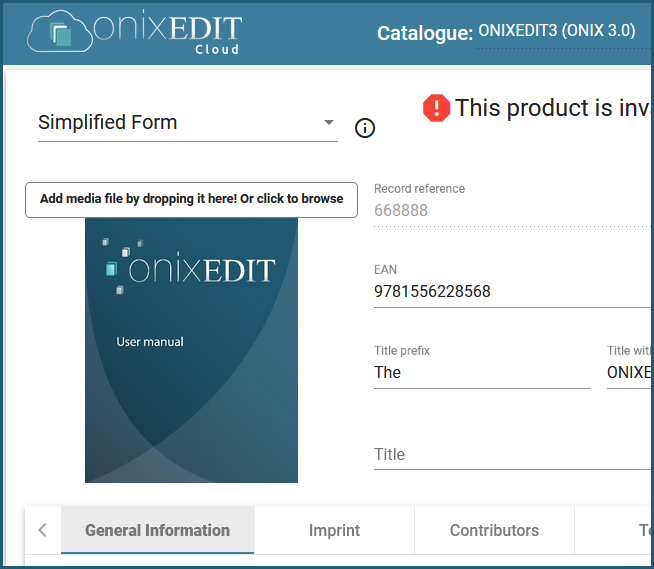
After having saved your ONIXEDIT Preferences, you will be able to see the result immediately within ONIXEDIT Cloud's title edition form. A media file area will allow users to add the authorized files either by clicking on it and selecting the file, or simply by dragging and dropping the file in the area:

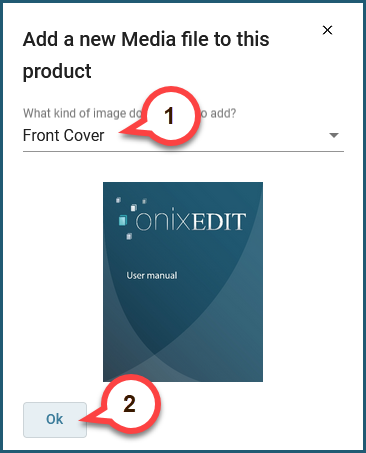
Once the user selected the file or dropped it in the area, they will see the following dialog. They will then select the appropriate type of media file from their authorized set in the drop-down menu (1) and then click OK (2):
The image will then be associated to the current title:
2. Configuring contributor pictures for ONIXEDIT Cloud
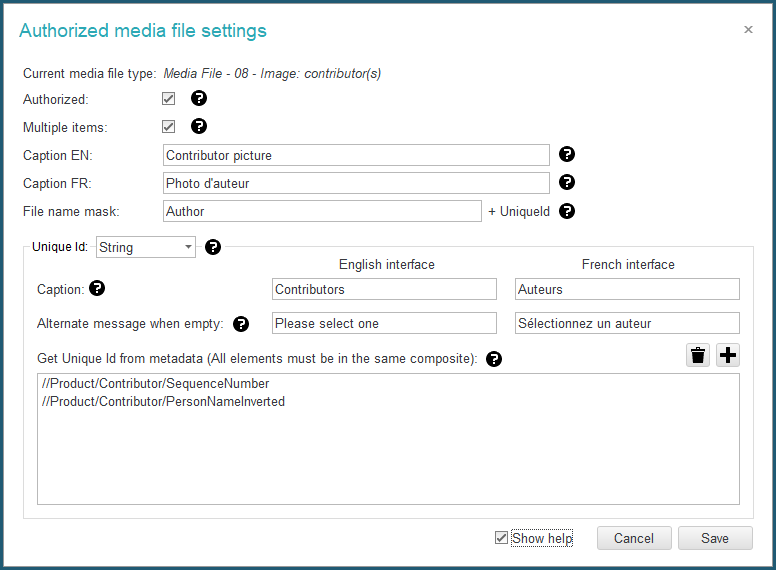
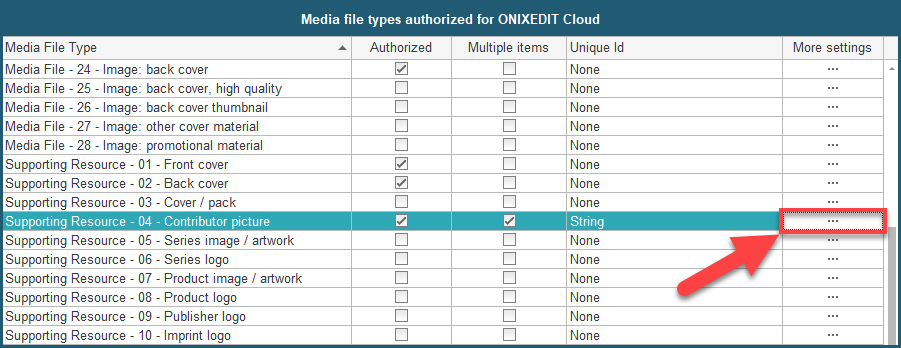
We want to allow ONIXEDIT Cloud users to define one picture for each contributor of a title. We also want to define a drop-down list with each contributor names to facilitate pictures identification. To do so, first click on the More settings button corresponding to Media File - 08 - Image: contributor(s) (ONIX 2.1):
What we need to do should look like the following screen capture:
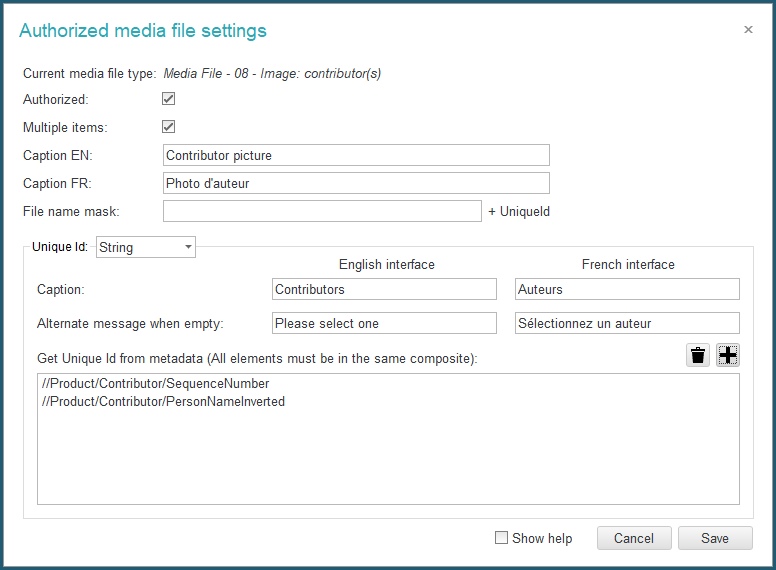
This time, we activate the Multiple items check-box to allow end users to define more than just one contributor.
We also leave the File name mask blank and we select "String" for the Unique Id:

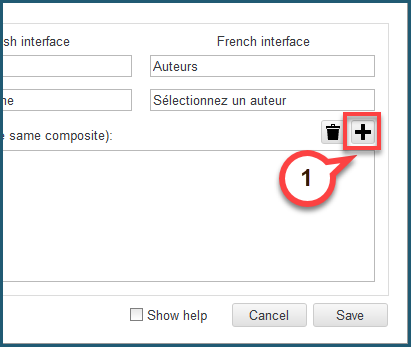
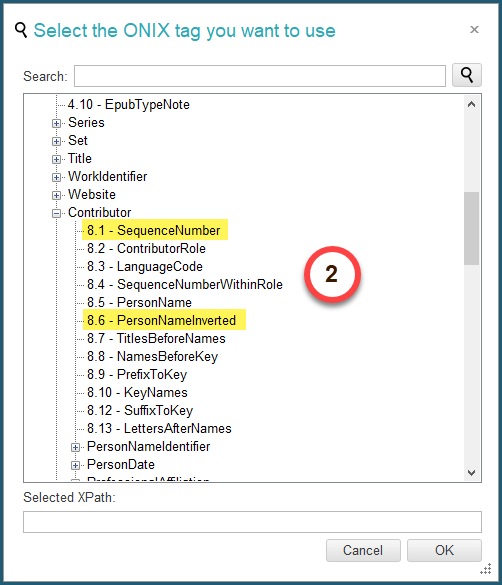
Then we define some contributor fields to feed a drop-down list that will appear in the Cloud image form. This will be used to create a Unique Id for each contributor picture that we will add.
We save the media file settings dialog and did the same steps for Supporting Resource 04 - Contributor picture (ONIX 3.0):
When you are done, don't forget to save your preferences!
Now, when we go to ONIXEDIT Cloud, we can set contributor pictures and use a drop-down list to associate each image with its corresponding contributor:

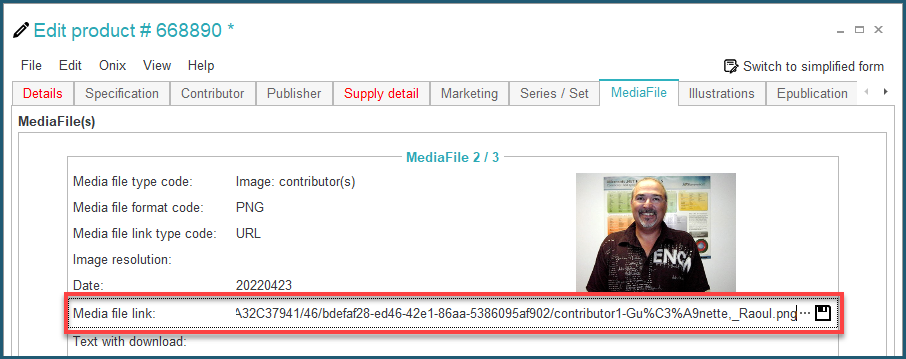
As a result in ONIXEDIT, we can see the media file link with a distinctive filename (in this case, "1-Gu%C3%A9nette,_Raoul.png"):