Change Main list columns
You can easily change the columns that are shown on the main list when an ONIX file is open.
For instance, if you want to add the ONIX tag PublishingStatus to the main list instead of the ProductAvailability which is the default, you will follow these steps:
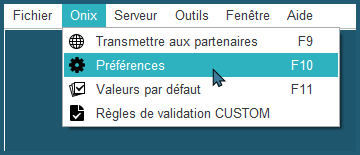
1- Go to ONIXEDIT preferences or press F10 to do so:
2- Click on the Manage Columns tab:

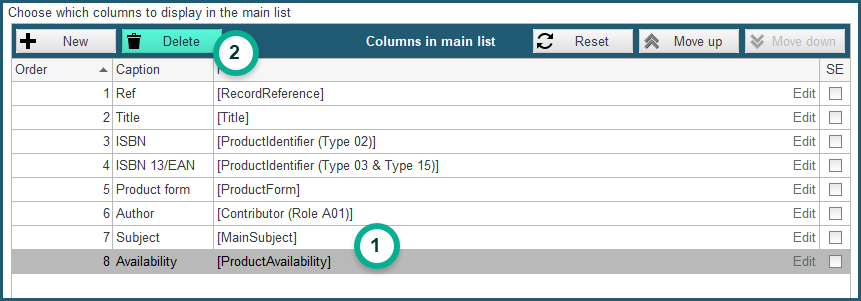
3- Select Availability and click on Delete to remove it:
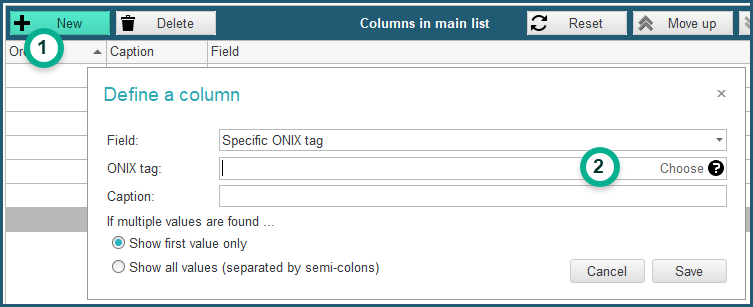
4- Next, click on the New button. You will find some common ONIX fields in the "Field" drop-down list. If you don't find what you are looking for in that list, click on the Choose button at the right of the ONIX tag field:
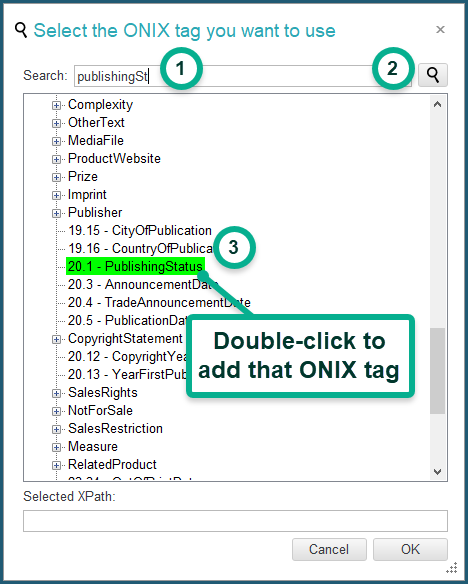
5- Type the ONIX tag that you are searching, press enter (or click on the magnifier icon) and finally, double-click on the field you want to add in the main list:
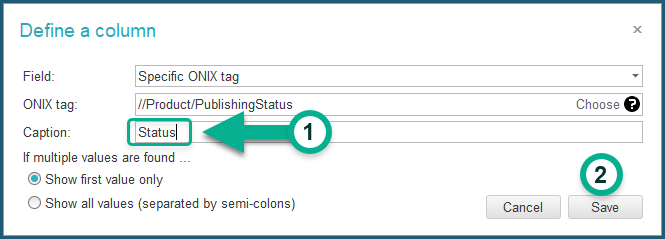
6- Give a name to the column in the Caption field and click on Save:
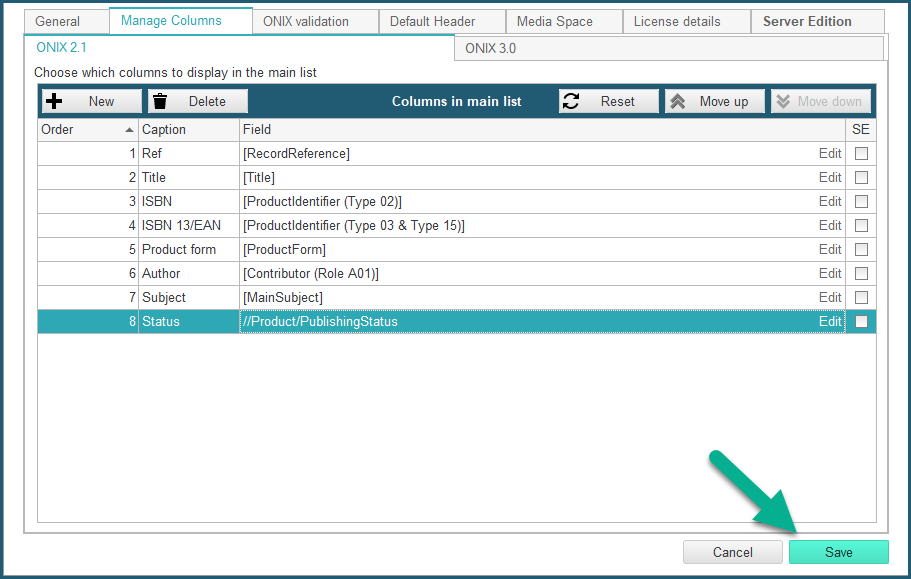
7- Finally, Save your ONIXEDIT Preferences:
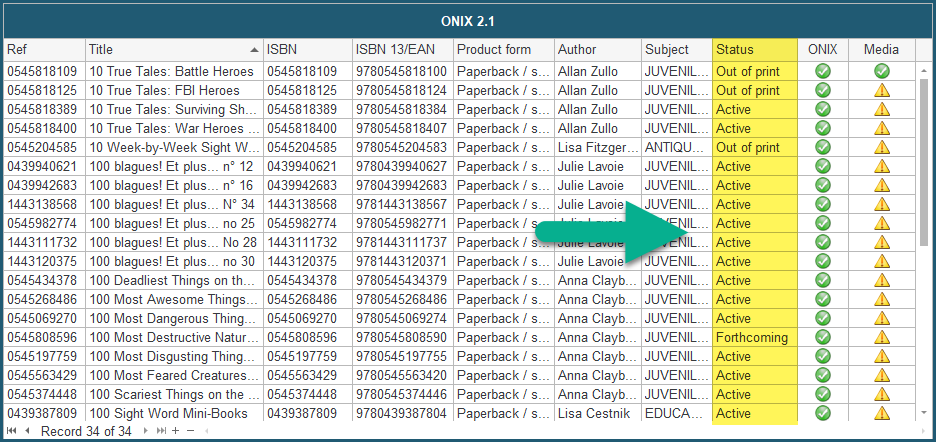
You should now see the new column for all your ONIX files:
This is also working if you are using ONIXEDIT Server. Also note that you can define different columns for ONIX versions 2.1 and 3.0. See the section on the Manage Column tab for more information on this subject.