My first ONIX file
When ONIXEDIT is launched, or when there is no opened document, the Start Screen showing the most common operations appears:

Click on the first action "Create new ONIX file". A dialog allowing you to select the ONIX version (ONIX 2.1 or ONIX 3.0) will pop up. Once the version is selected, a window with a new ONIX document is created.
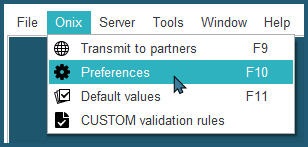
First, we will check the preferences configuration. To do this, use the Preferences function from the ONIX menu or by pressing F10:
The Preferences dialogue appears. Go to ONIX validation tab and verify that the list of Formats to validate is empty. To do this, select in turn each format, then click on the  button at the bottom of the list:
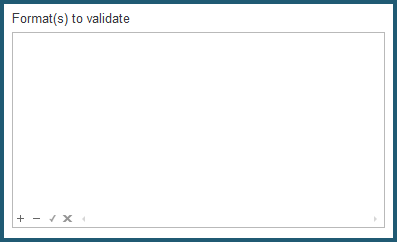
By removing the special formats, you set ONIXEDIT to verify only the minimal ONIX format, that is, the basic elements required to make a valid ONIX document in its simplest form.
Finally, save your preferences.
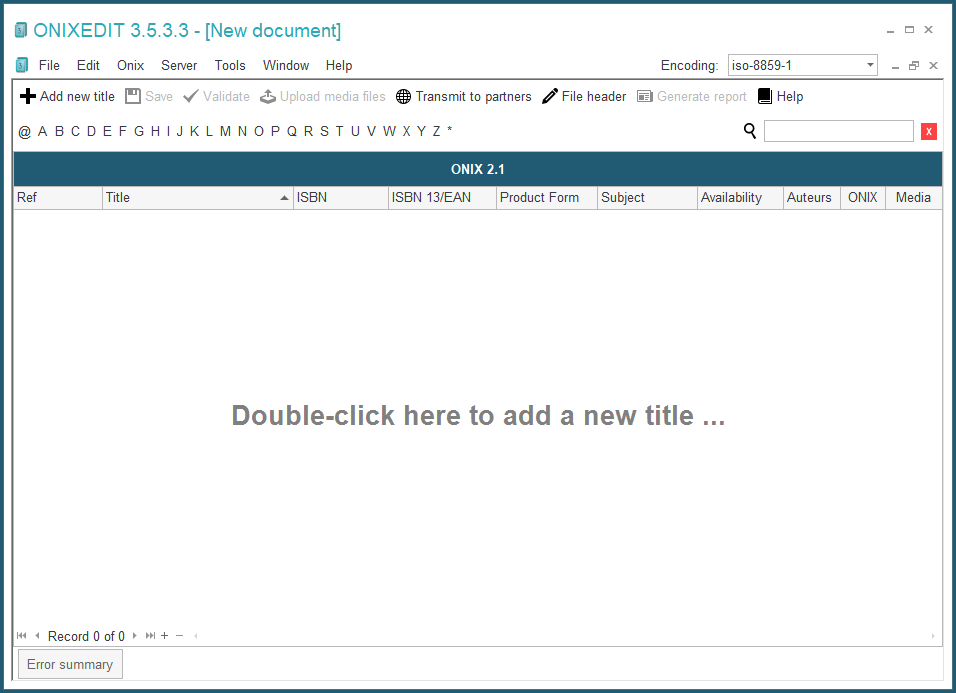
Back at the main ONIXEDIT list, double-click in the centre of the list or on the + button at the bottom of the list to add a new ONIX title:
A new window for an ONIX title will open:
If you have the simplified form, the screen will look like this:
Usage of the Simplified Form is the same as the Advanced Form referred in the following example.
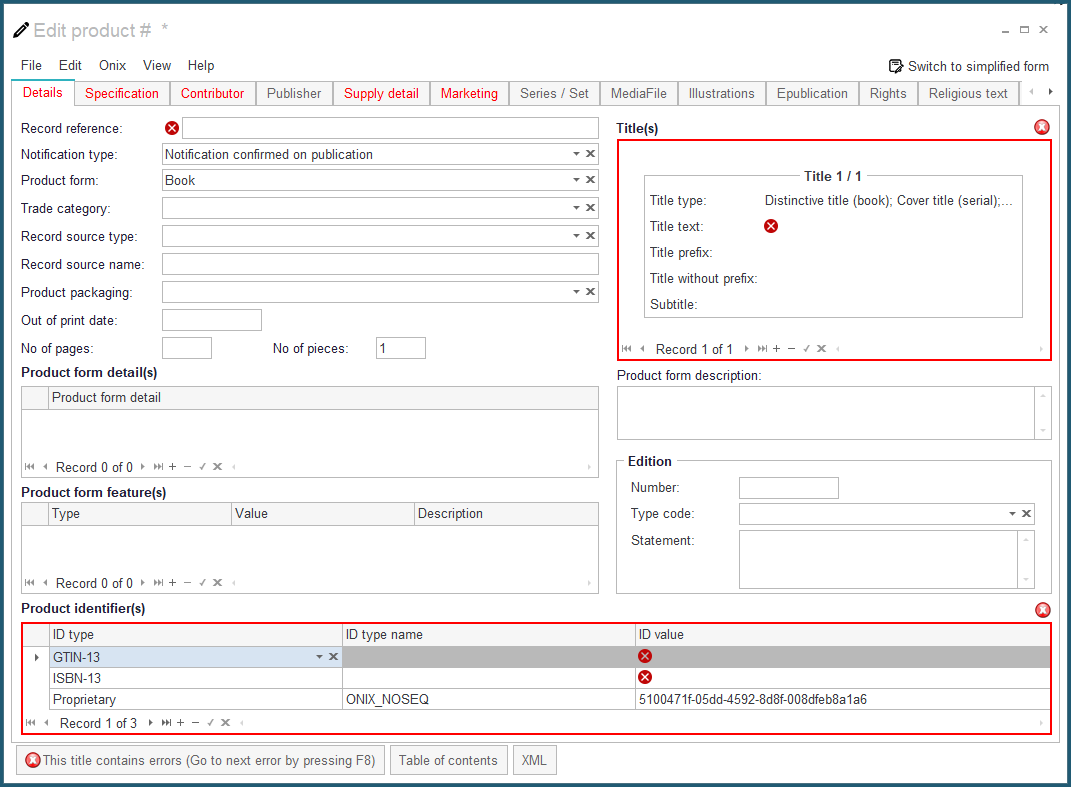
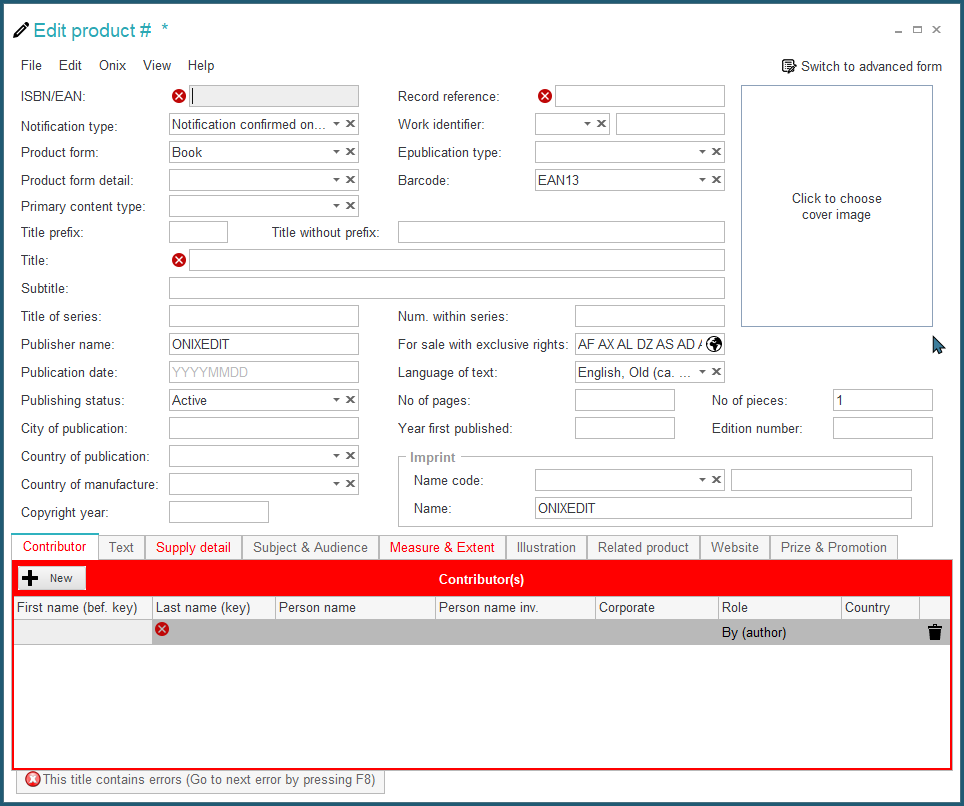
To make up a valid ONIX record, certain fields are required. Others require certain particular values. There are also some fields which are dependent on others. ONIXEDIT will guide you during the process of editing a title by showing in red any sections which do not conform to ONIX rules. By positioning your cursor above a red marker, you will see a description of the error accompanied in some cases, by a clickable action link to automatically fix the problem:
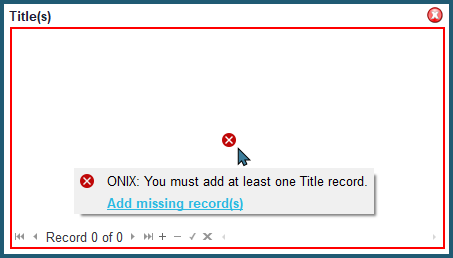
Try clicking on the "Add missing record(s)" link to define a new title to your book.
Also, at the bottom of the window, clicking on the “Errors” tab allows you to display the error panel, showing all the current errors:
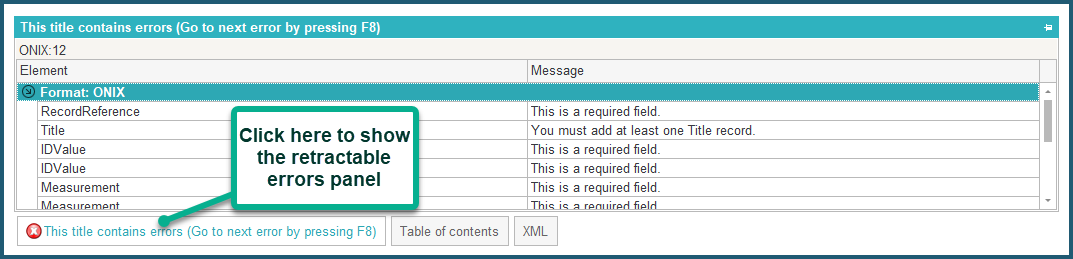
To go to the next field containing an error, you can either double-click a specific error on the panel, activate the Go to Next Error function of the ONIX menu, or simply press F8:
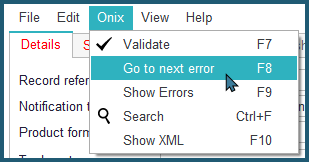
Continue to press the F8 key and enter the required values until the message indicating no more errors appears.
Certain fields have drop-down menus. This is the case for the “Notification Type” field:
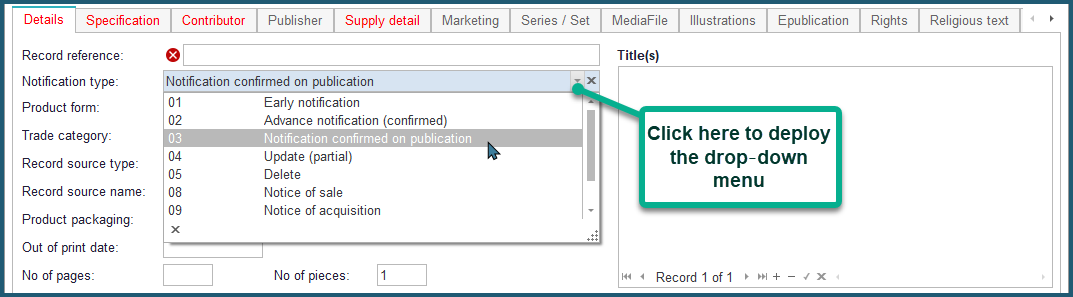
You can start by typing the first letters of the value you want and ONIXEDIT will automatically suggest values starting with those letters. Or you may also simply click on the arrow at the right of the drop-down menu to display the complete list of values and select the one that you wish. A drop-down menu may also be deployed using the key combination ALT-↓
To erase an incorrect value in a drop-down menu, click on the X on the right of the menu.
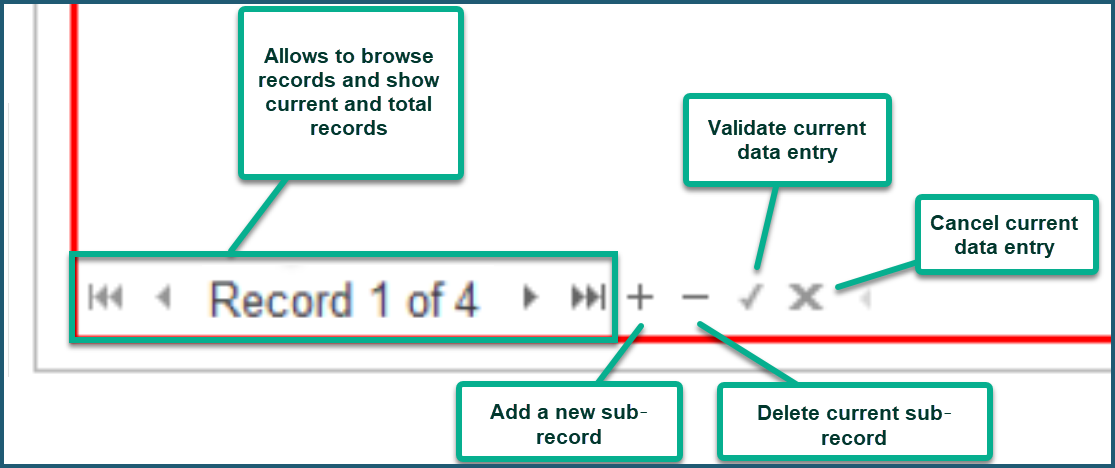
In a Title record, you will often find sub-lists. These lists allow the capture of several sub-records. For example, there may be several identifiers for the same title. A sub-list always includes a navigation control inside the lower left corner of the list. This navigation control allows you to work on the list as shown in the following figure:
For the list of product identifiers, you will notice that at the time of data entry of an EAN, ISBN-10, or ISBN-13, the system verifies the validity of the code, and if it is valid, automatically converts it to the other identifier. Thus, if for example you insert a valid EAN, the ISBN-10 and ISBN-13 will be completed for you automatically. The corresponding sub-records must be created first.
You will also notice that an identifier of ID Type “Proprietary” with the name “ONIX_NOSEQ” is automatically added for each new title:

This is a sequential number which ONIXEDIT assigns to each of your titles. You cannot alter or remove this identifier.
When there are no more errors and you have entered all the information required, you can then save your title. To do this, you simply use the Save title function on the File menu, or CTRL-S:
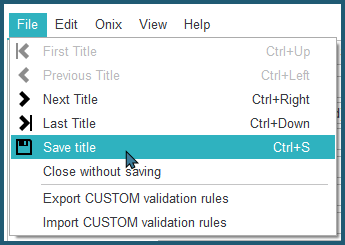
If you close the window before saving your title, an alert will warn you to save before closing.
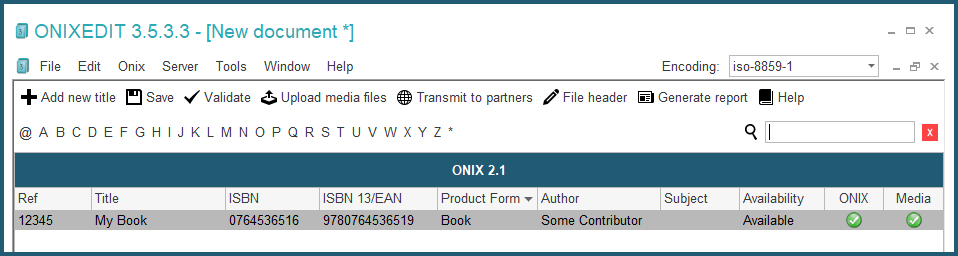
Then close the editing window for your new title. Your title now appears in the main list and a green check mark under the ONIX column indicates that your title is valid according to ONIX norms:
The only thing left to do is to save the file using the Save function of the File menu, or CTRL-S. A file save dialogue will then appear. Choose the location where you want to save your file and give it a name.
You have just created your first standard ONIX file!
If you want to modify the title which you have just created, you only have to click on the record in the main list to make the editing window for that title appear.