Add or edit a title with the Entry Form
To edit or insert a title, you will have to use the user-friendly ONIXEDIT Cloud Entry Form. To do so, you can create a new title by clicking on the "Add new title" button in the Main List:

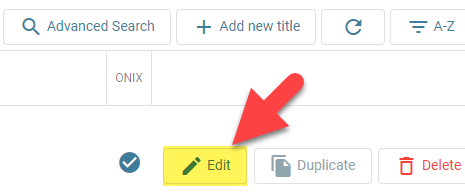
To modify an existing ONIX product, you can double-click on it or click on its corresponding "Edit" button from the Main List:
You can also make a copy of an existing title by using the duplicate icon:
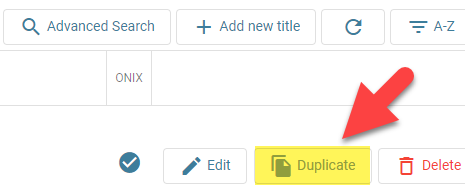
Check section Duplicate a title for more details.
Whatever action you take, you will then get access to the ONIXEDIT Cloud Entry Form:
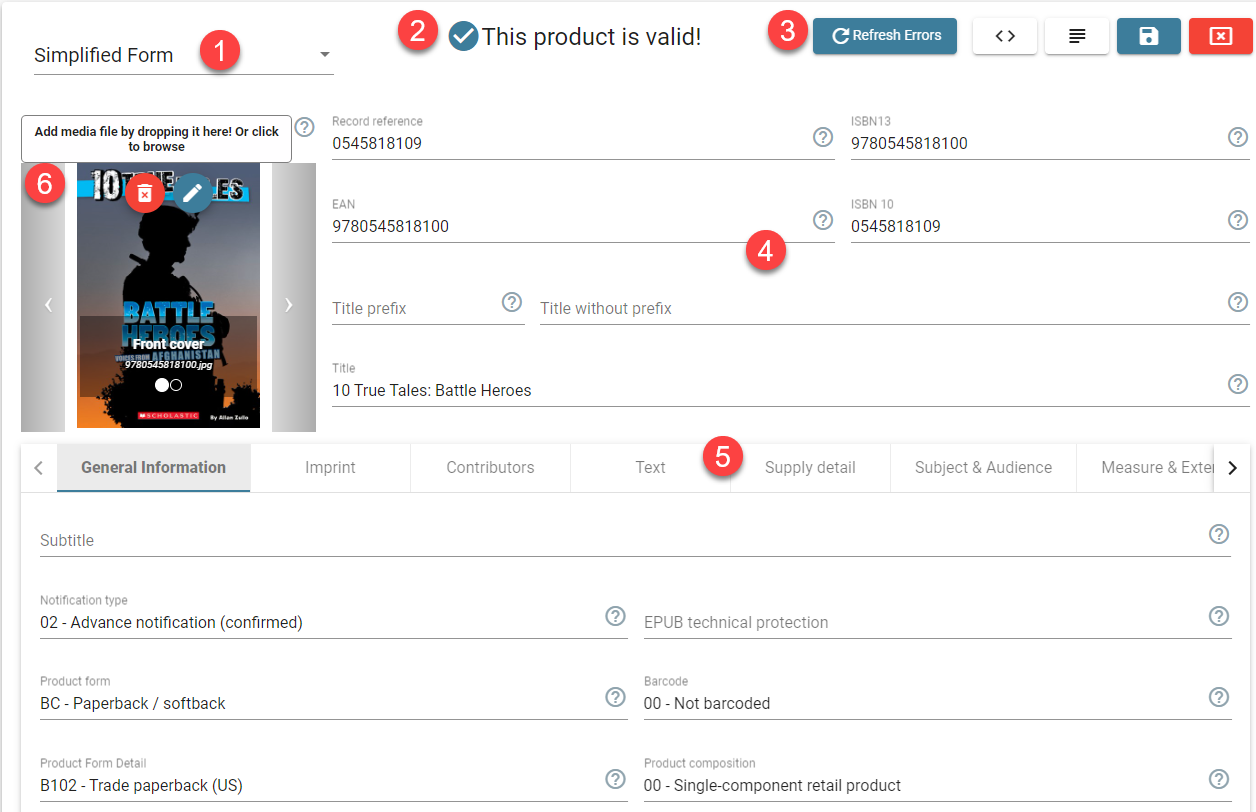
The following sections are identified from 1 to 6 in the above screen capture:
- At the top left of the entry form, you will find the form selector. With it, you can choose between the Simplified entry form (default one) and the Advanced entry form:

The Simplified entry form is convenient when you want to see/edit the most usual ONIX fields. But most of the ONIX composite groups of fields (such as the subjects) are restricted to just one of each major kinds. This is why you will switch to the Advanced form if you want to see/edit all possible groups of fields. - At the top center of the ONIXEDIT Cloud Entry Form, you will see an indicator that will inform you if your ONIX product is valid or not. In the screen capture above, the title is valid according to the ONIX standard. See next section Title validation for more details.
- At the top right, you will see five buttons:
 This button is used to force the validation of your current ONIX product. Validation is done automatically by ONIXEDIT Cloud with our browser embedded validation engine in order to detect the most usual validation errors. But the Refresh errors button will apply a validation directly at our server for an in depth and complete analysis of your ONIX record. However, a complete validation is done automatically each time you are saving your ONIX product.
 If you click on the XML button, you'll get the current xml result of the ONIX product you are editing.
 If you are searching for a specific ONIX field but you don't know where it is located in the ONIXEDIT Cloud Entry Form, click on the TOC button. You'll see a hierarchical list of all the ONIX composites and fields. You can browse that list or type the first characters of the field you are looking for and double-click on it:
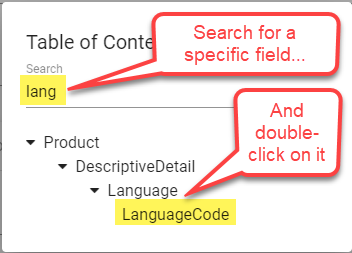
ONIXEDIT Cloud will move the cursor directly where that field is located:
 You should use the "Update this product" button each time you want to save your ONIX title to your catalogue.
 Use the Cancel button to discard any changes made to the current ONIX title.
- That section of the ONIXEDIT Cloud Simplified Entry Form is present whatever tabs in the section under it that you will activate. It presents product identifiers and titles.

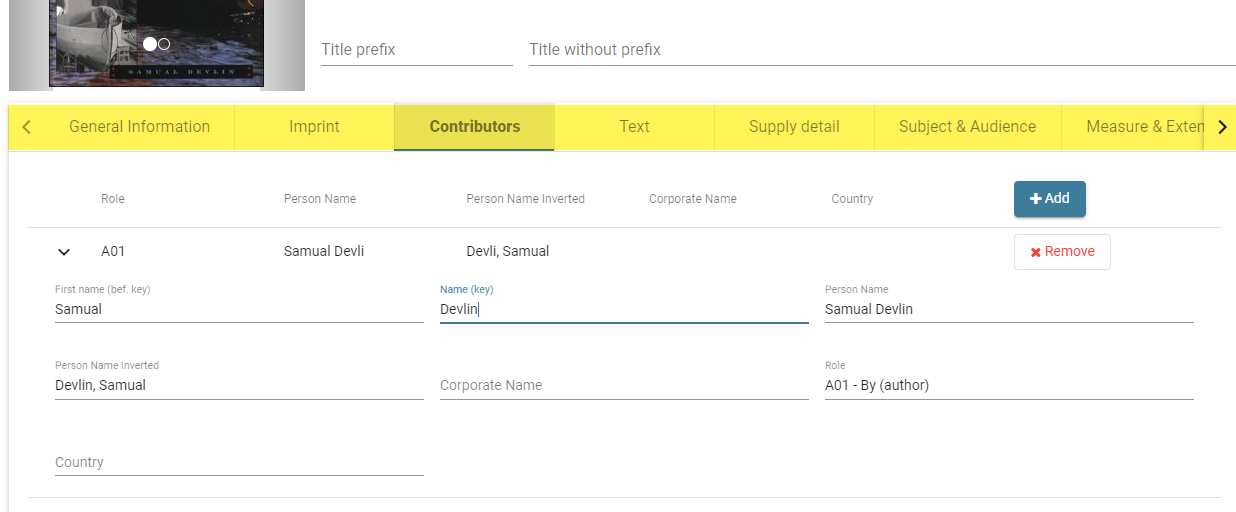
- All other ONIX fields you will find in the ONIXEDIT Cloud Entry Form are grouped by Tabs. Clicking on a tab label will present that section allowing you to set values in the fields it contains:
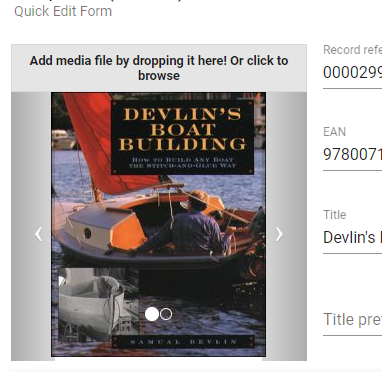
- At the upper left of the ONIXEDIT Cloud Simplified Entry Form you will find the Media File control. Consult section "Define cover images and other media files" for more details.