Manage Publishers
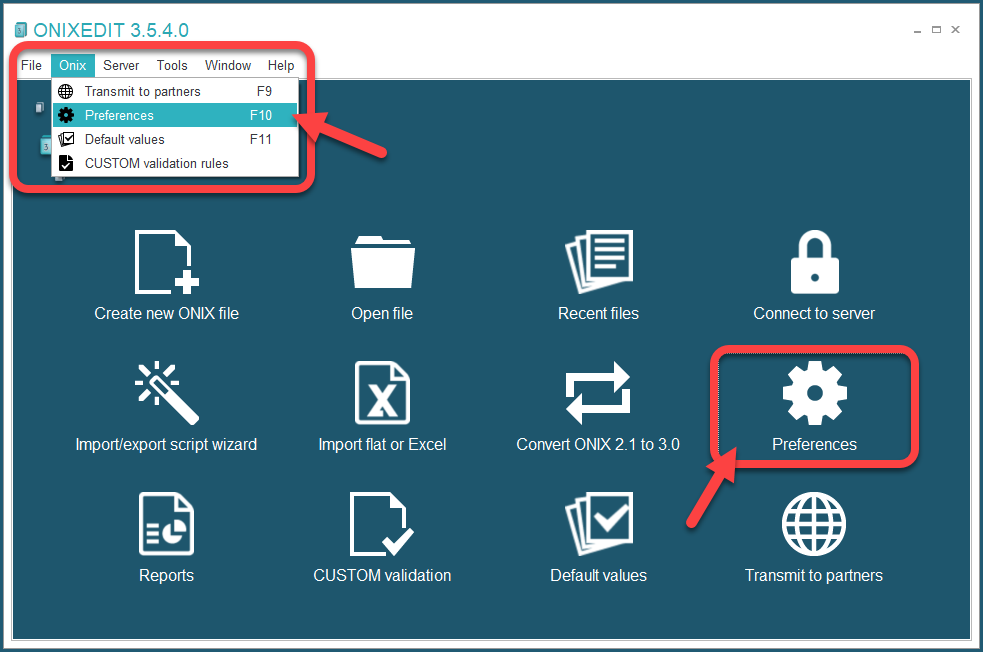
In this section, you will see how ONIXEDIT Server allows you to create Publishers and assign them to your catalogues. You can define attributes for your Publishers, and then use these attributes when setting default values or exporting your titles. To manage your publishers, you must use the Preferences module of ONIXEDIT Pro (the preferences can be accessed via either the main menu Preferences button, the menu Onix / Preferences, or the F10 key, as shown in the image below).
Once in the Preferences module, click on Server Edition tab, then Publishers. You should see this screen:
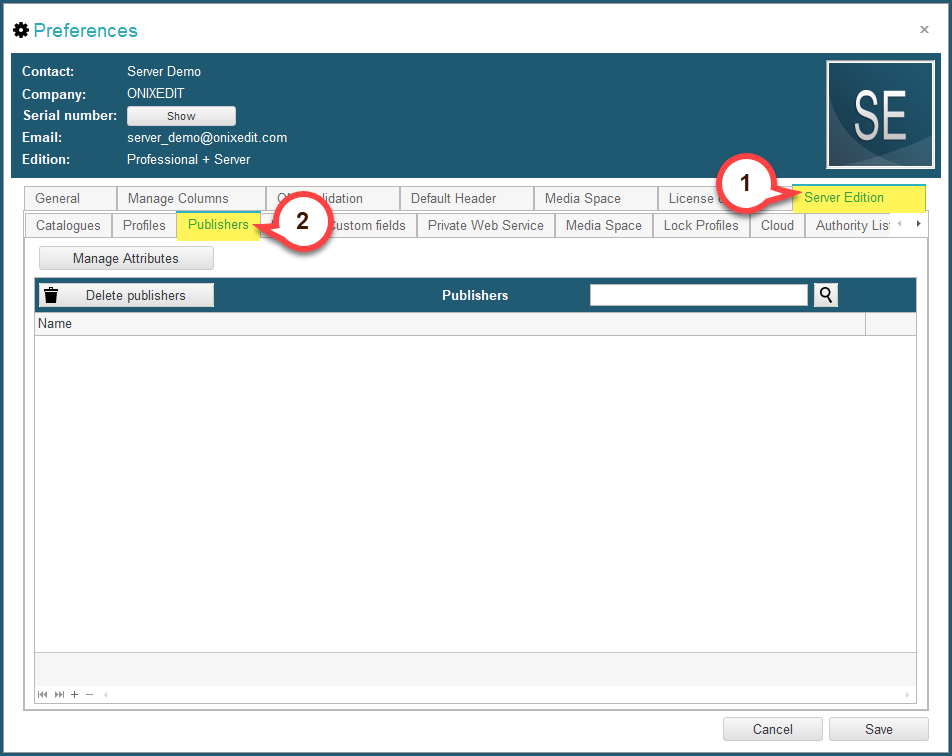
In this tab you will see a list of all your defined publishers. You can create new ones, delete existing ones, and edit their attributes. There is no limit on the number of publishers you can create.
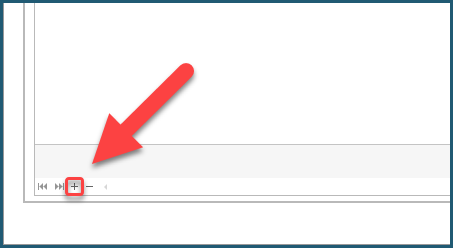
To define a new publisher, click on the + button at the bottom left corner of the list:
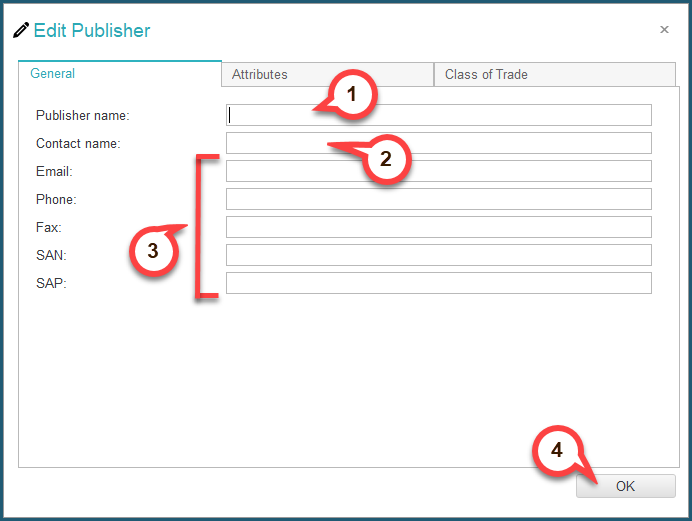
You will then see this pop-up dialog, as shown below. You should start by entering the Publisher name (1) and Contact name (2), they are required. Then you can keep filling the other fields (3) if you would like (Email, Phone, Fax, SAN, SAP), these are optional. We will come back to the Attributes tab that you can see at the top later. Once you are done, click OK to confirm (4):
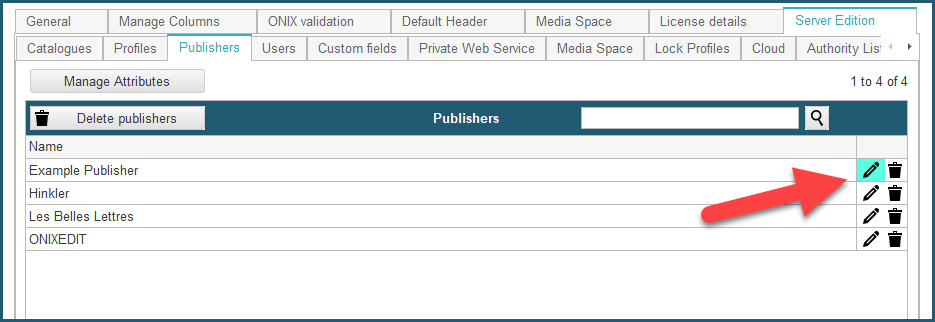
Once you have created some publishers, your Publishers tab will look like this:
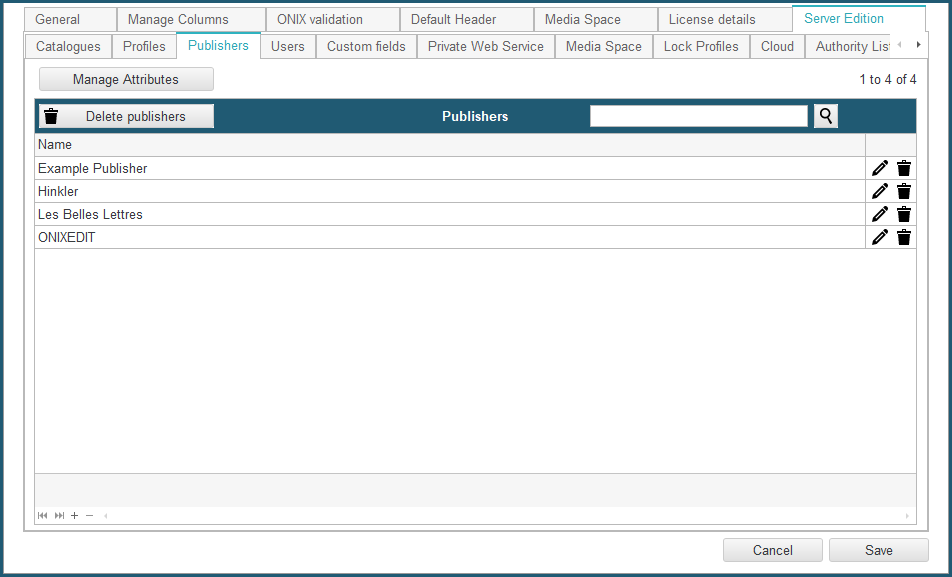
You can use the controls on the far right to edit  and delete
  publishers.
2. Assign Publisher to a Catalogue
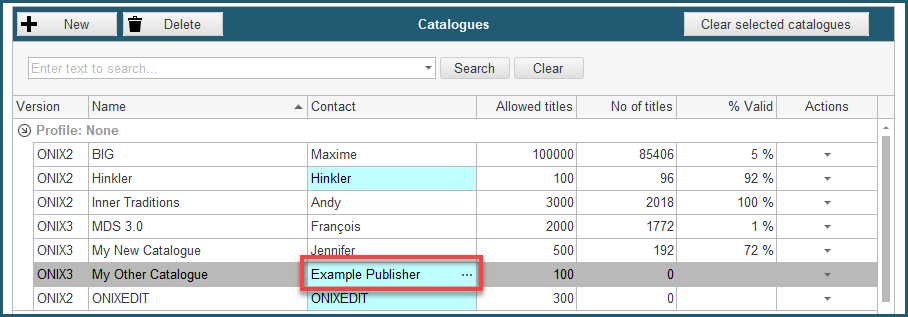
If you navigate to your catalogues tab (Preferences / Server Edition / Catalogues), you will see a list of all your catalogues. Below is an example of a catalogues list:
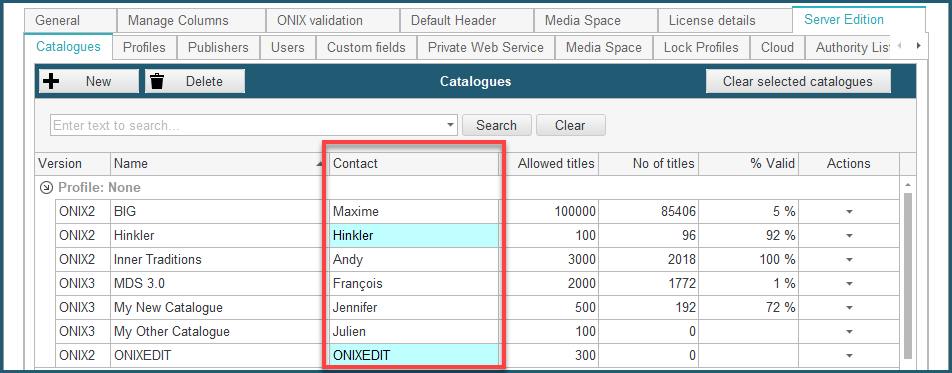
Note the Contact column that is highlighted in red in the screenshot above. As you can see, some of the contacts are on a white background, and some are colored with a light blue. A contact is highlighted in blue when a Publisher is assigned to this catalogue. When you don't assign a Publisher to a catalogue, you simply write down the name of the contact (white background). But when you assign a created Publisher to a catalogue, the name of the publisher will appear (blue background).
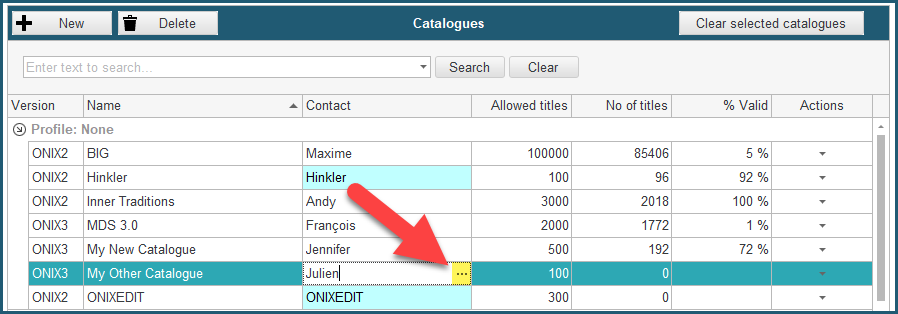
To assign a publisher to a catalogue, click on the contact of this catalogue and then the "···" button on the right, as shown below:
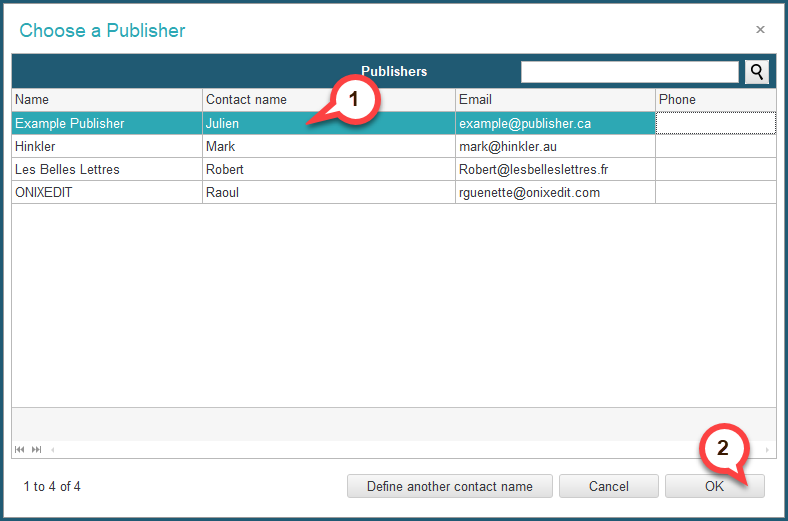
You will then see this dialog shown below pop up to let you choose the publisher to assign. Select the publisher among all your created publishers (1), and click OK to confirm (2). Note that you can use the search bar at the top right to quickly find the publisher you want.
Now as you can see on the image below, the publisher was assigned to the catalogue and now shows in the Contact column in blue:
You can dissociate this publisher from the catalogue by doing the following. First, click on the "···" button on the right of the contact like you did to assign the publisher. Then, in the Choose a Publisher dialog, click on the Define another contact name button:
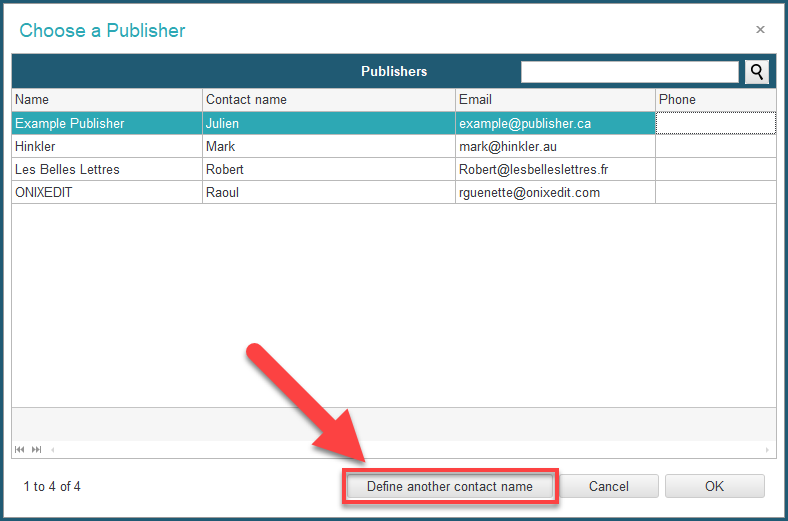
You will then just have to write the name of the contact, just like the other contacts with a white background.
In addition to the default fields you filled when creating a publisher (Contact name, Email, Phone, etc.), you can define custom attributes. These extra attributes that you define will be available for all your publishers, and each of them can have their own value for this attribute.
To manage your publisher attributes, click on the Manage Attributes button right above the publishers list:

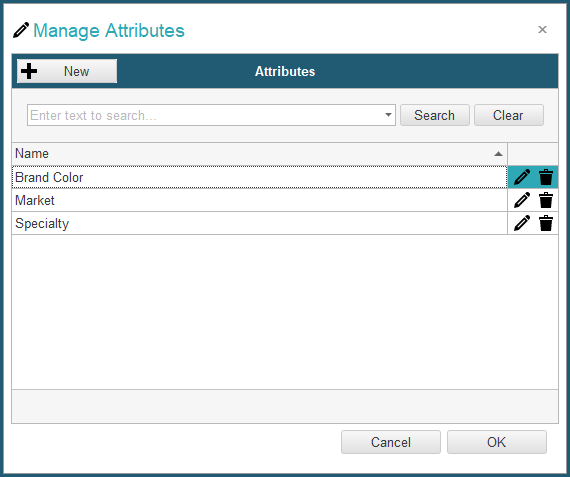
This pop-up dialog will appear:
![]()
To create a new attribute, click on the New button in the upper left corner:

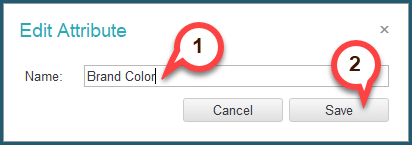
You will then be prompted to enter the name of the attribute you want to create. You can always edit the name later if you need. Enter the name and click Save to create the attribute:
Once you have created some attributes, your Attributes list could look something like this:
You can use the controls on the far right to edit and delete attributes.
4. Edit a Publisher's Custom Attributes
Now that you have created some attributes, you can edit the values to these attributes for your publishers. To do this, click on the edit button of the publisher you want to modify:
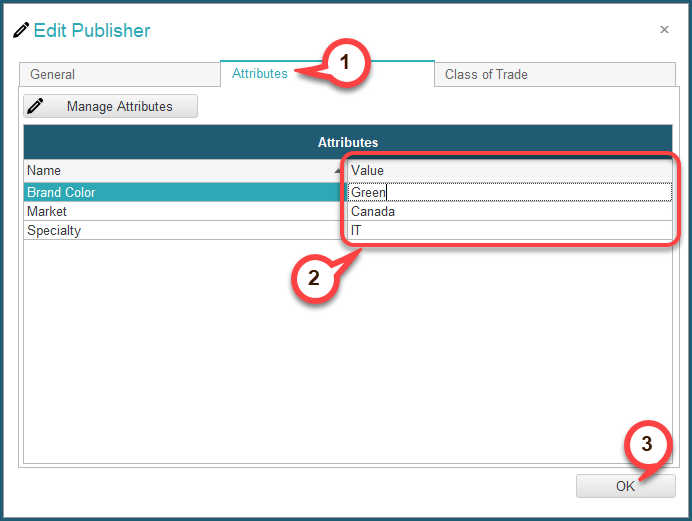
A dialog will pop up, navigate to the Attributes tab (1). Here you can find all the custom attributes that you have created. In the Value section on the right end of each attribute, you can enter the value that you want for this publisher (2). Once you are done, you can click OK to confirm (3):
5. Use Publisher Attribute in Export Script
If you need more details about how import/export scripts work, please refer to the ONIXEDIT User Manual.
If you are creating an export script, you can add some publisher attribute in the script so that the value of this attribute gets exported based on the publisher of the catalogue. For example, in the demonstrations above, we defined the value of Green to the attribute Brand Color for the publisher Example Publisher. Then in our export script, we can add the publisher attribute Brand Color, and the value exported in this column will depend on the publisher of the catalogue from which we export. If the catalogue is assigned to publisher Example Publisher, then the value Green will be exported.
To use publisher attributes in export scripts, proceed as follows:
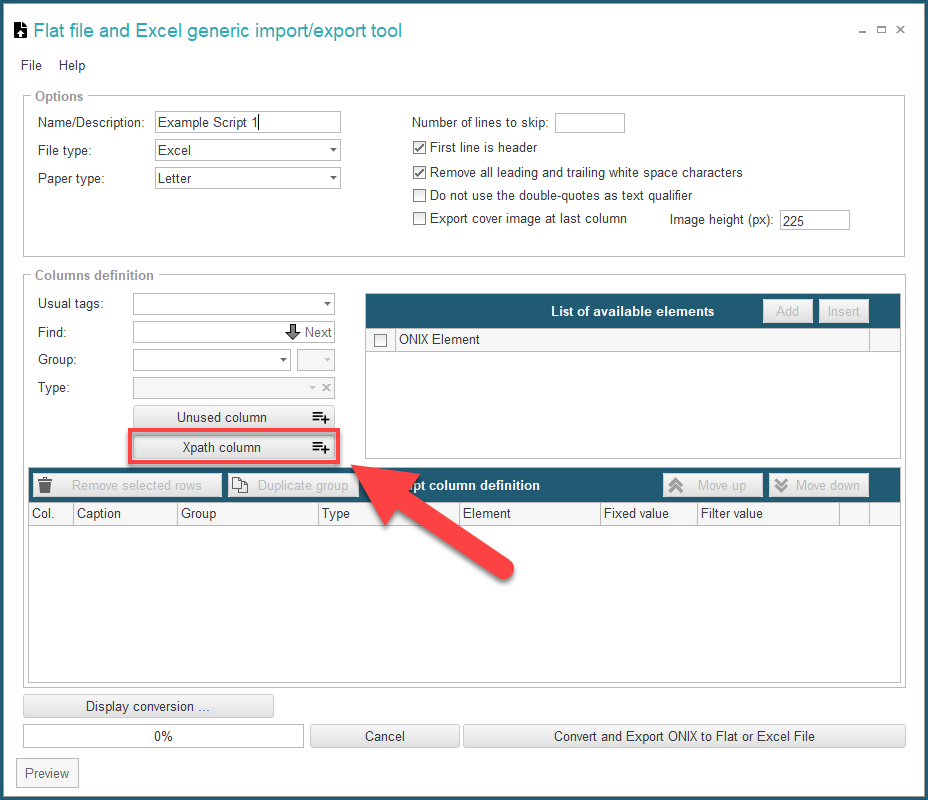
First, in the generic import/export tool, click on the Xpath column button:
The XPath column dialog will pop up as shown below. Then click on the Insert ONIX node button:

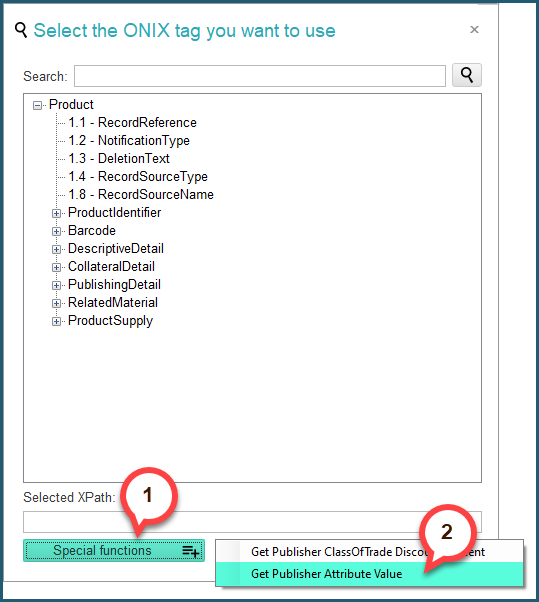
You will then be see this dialog. Click on the Special functions button, and then Get Publisher Attribute Value:
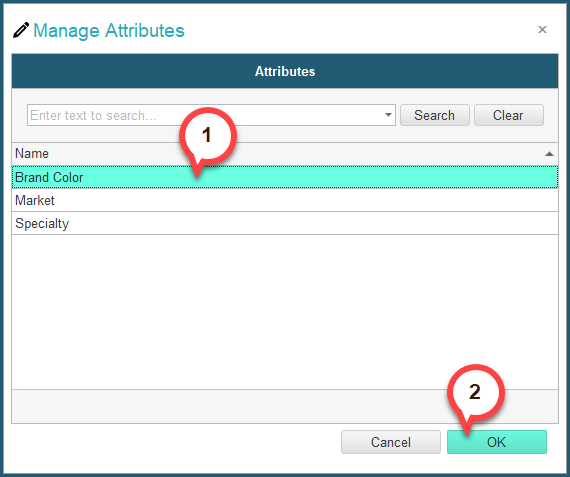
You will be prompted to select the publisher attribute that you want from your created attributes, like shown below. You can use the search bar to help find the one you want. Select an attribute, and click OK to confirm. Alternatively you can simply double click the selected attribute.
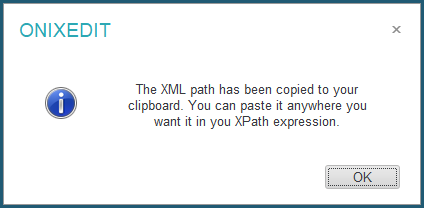
You will then see the selected XPath like indicated in yellow on the following screenshot. Next click on the OK button. This will copy the XPath to your clipboard.

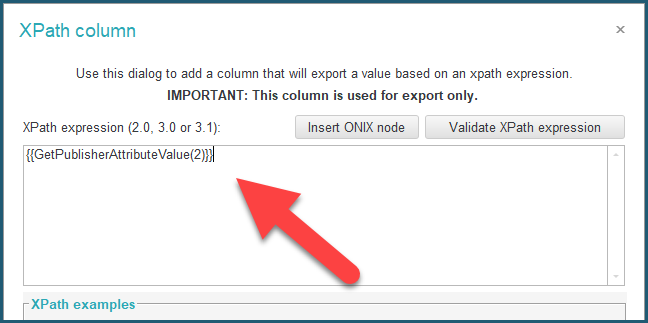
Next, paste the XPath in the XPath expression field as shown below (using CTRL+V or right click / paste):
Once you have pasted the XPath, you can click the Save button at the bottom right to confirm. You will then see the added column in the columns list:
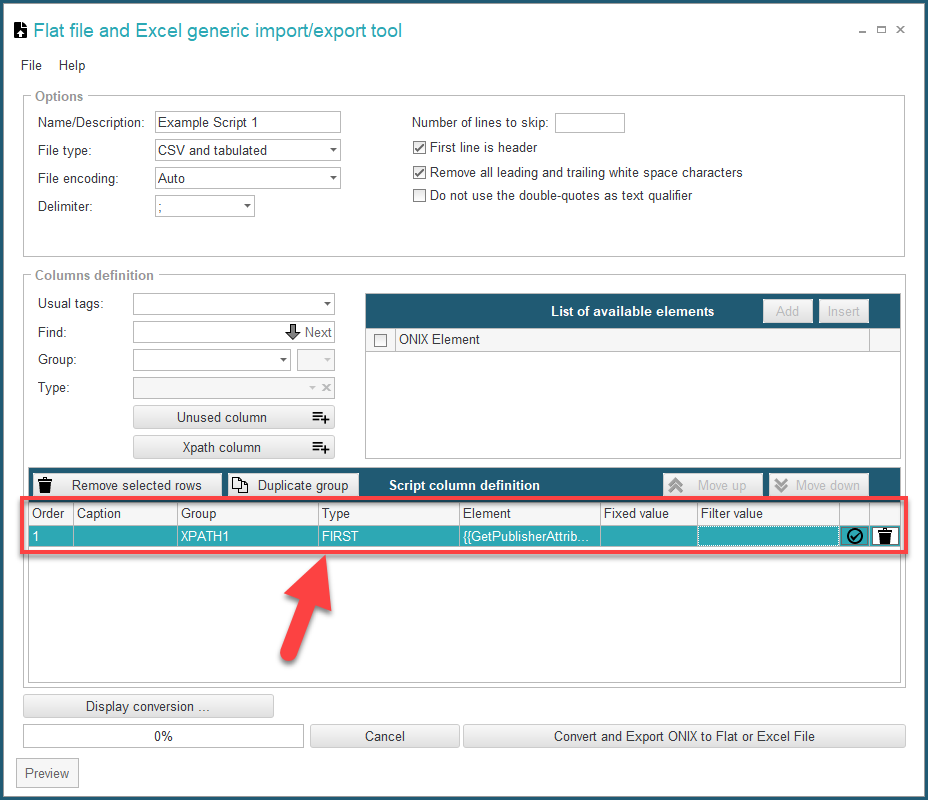
Finally, indicate what attribute this is by entering it in the Caption field of the column:

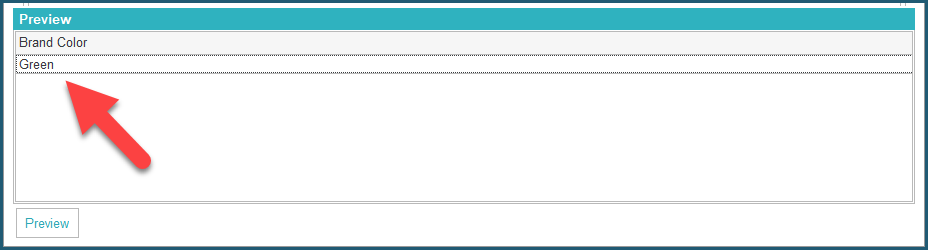
Done! You now have the Brand Color of the publisher associated to the catalogue that will be exported when using this script. As you can see in the Preview like on the image below (Accessed using the Display Conversion ... button), the value Green will be exported based on the current catalogue, since it is associated with our Example Publisher defined earlier, which uses green:
6. Use Publisher Attribute in Default Values
When editing the default values of a catalogue or a profile using the edition form, you can set a default value to be the value of a certain publisher attribute. Here is how to proceed to do so:
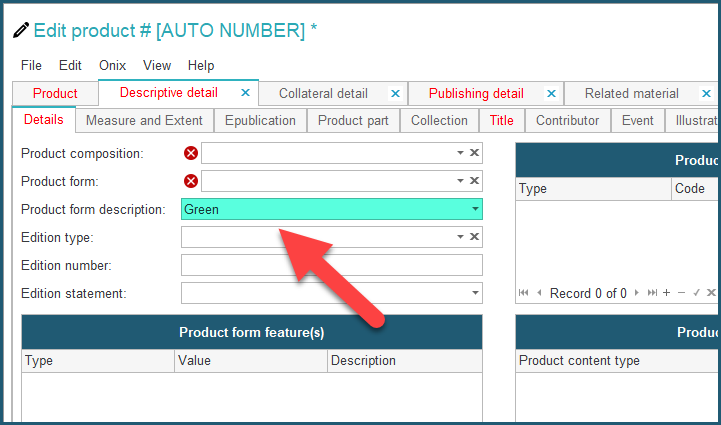
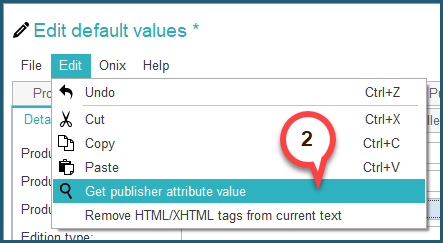
First, select the field on which you want to set a default value (1). Then, go to Edit / Get publisher attribute value (2):

You will be prompted to select the publisher attribute that you want from your created attributes, like shown below. You can use the search bar to help find the one you want. Select an attribute, and click OK to confirm. Alternatively you can simply double click the selected attribute.
You will then see the corresponding XPath expression appear in the selected field:
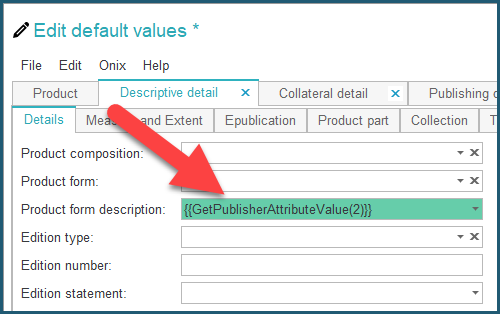
You are all set! Simply save your changes and the preferences and now when you create new titles within catalogues that apply these default values, you will see the Brand Color of the Publisher in this field: