You worked hard to create and maintain your ONIX metadata. With this in hand, you could transmit your precious information about your books and ebooks to your trading partners. With the help of ONIXEDIT this is really easy. But could you use your metadata for another purpose? What if you want to produce a catalog of your titles? Do you need to do it from scratch? Of course not! This step by step guide will show you how to create a complete titles catalog with your day to day tools: ONIXEDIT and Microsoft Word.
The material used by this guide is available on the web. The ONIX file came from one of our client, the Australian distributor Woodslane. You could find their ONIX files here. Also, I found this useful page from Graham Meyer website showing how to deal with images with Microsoft Word Mail Merge function. You will find all the required files, links and scripts used by this tutorial here.
Step 1- Convert your ONIX file to Excel
First thing to do, is to create an Excel file from your ONIX metadata file using the Export function of ONIXEDIT. For this tutorial, I used the file "Woodslane1104repkit.xml" from Woodslane included in this archive. I open it with ONIXEDIT version 2.4.0. Then I select a few titles and press F5 to call the export function. I choose the "Export to flat file or Excel" option. Then I create an export script that will contains all the data elements I need for my catalog. You will find that script named "Export Catalog Feed.import" in the archive. From the Export dialog, click on File/Open and open the script. You will see the following screen:
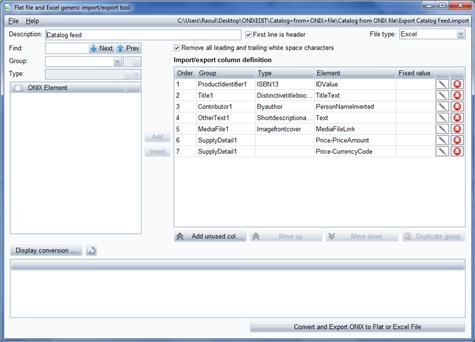
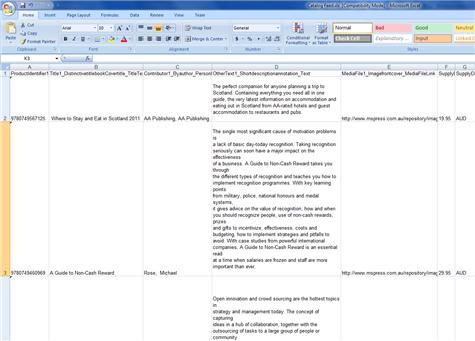
You could modify that script and add other ONIX fields following your requirements. See the "Export to a Flat File or Excel" topics in the 'How to" section of the user manual to get more information about Export script. Then click on the "Display Conversion" button to see the resulting table. Next, click on "Convert and Export ONIX to Flat File or Excel File" button to generate the Excel file. You will find the resulting Excel file named "Catalog Feed.xls" in the archive. Here is a picture of the resulting file:
Step 2- Create your Microsoft Word Mail Merge template
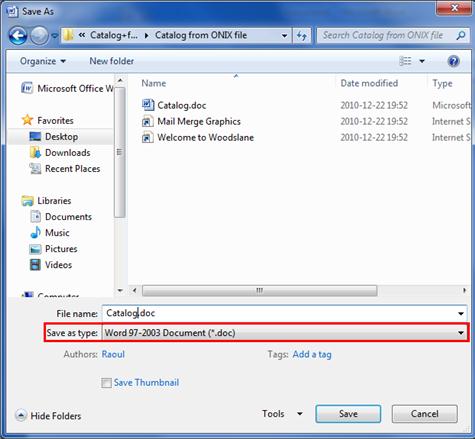
Once you have your Excel file, now it's time to create your Word template. For this tutorial, I used Word 2007. You could also used Word 2003 or 2010. But if you used 2007 or 2010 version, you should save your template in Word 2003 because data binding with dynamic pictures will work only under Word 2003 document (with extension ".doc").
First, create a new Word document and save it. Choose the File Type Word 97-2003 if you are using Word 2007 or 2010:
Now go to the 'Mailing' tab. We are going to use the Mail Merge function of Word to create our Catalog. Then click on "Select Recipients" dropdown menu:
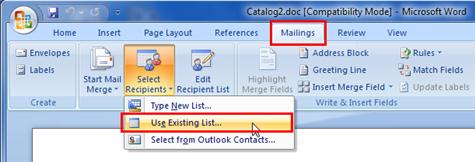
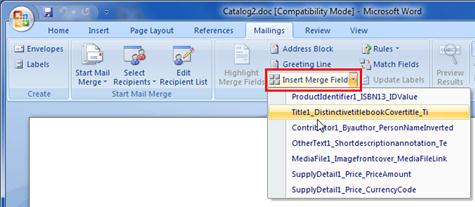
Word will present you a dialog to let you choose your data source. Locate your Excel file created in step #1 and open it. Word, will present a "Select Table" dialog. Click on OK. Now, using the "Insert Merge Field" dropdown menu, you can insert placeholders for your data:
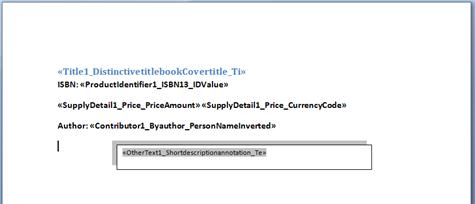
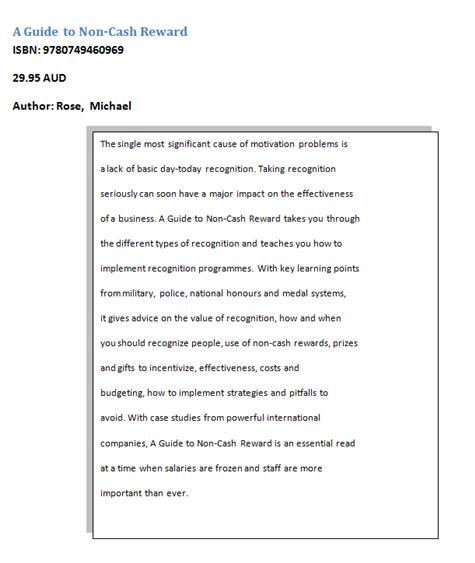
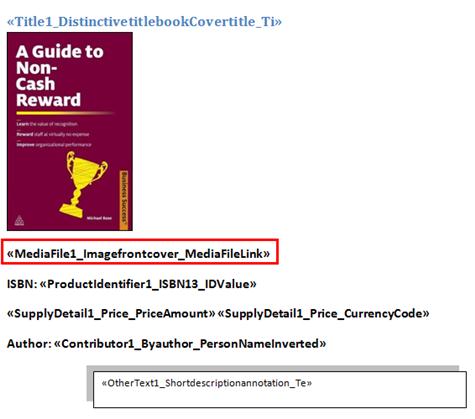
You could then set any formatting to those placeholders to satisfy your particular needs. Here, I just place the title, the ISBN, the price, the author and a text box with the "Resize AutoShape to fit text" option to place the description of my books. This is what it looks like:
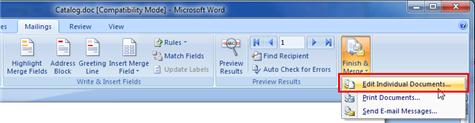
To get a look at the result, click on the "Finish & Merge" button in the toolbar:
Just select a few records for faster results:
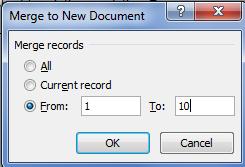
And click on OK. Here is the result:
Word had prepared for you a Catalog with your ONIX data in just a few clicks! Nice, but not competed yet... Close the resulting document without saving it and get back to your template.
Step 3- Add a picture Placeholder.
Before going any further, you could save your actual template. Now that it's done, we will modify our template to automatically create front cover of our books. In our Excel file created in step #1, there is a column named 'MediaFile1_Imagefrontcover_MediaFileLink"'. That column contains url of books front cover like this one: http://www.mspress.com.au/repository/images_frontcover_p475h/9780749567125.jpg. To allow Word to bind a placeholder to those pictures, it is a little bit tricky.
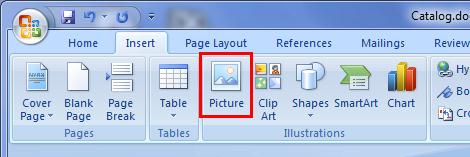
You should first save one of those picture locally. You will find one named "9780749460969.jpg" in the archive. Now, go to the Insert tab and click on the Picture icon:
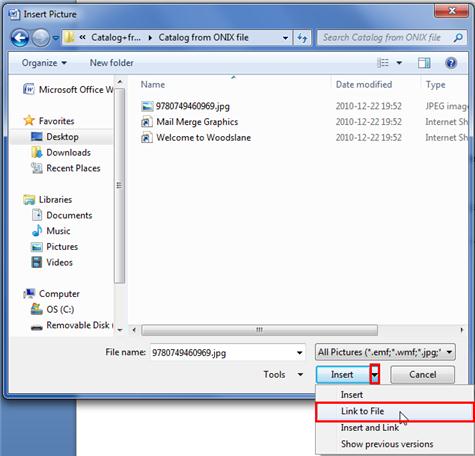
Locate and select your book cover picture with the dialog and be sure to use the option "Link to File" of the Insert button:
Word insert the picture to your template. You could resize it to get the required dimensions:
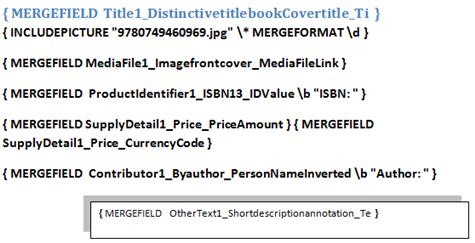
Under the picture, insert the Merge Field "MediaFile1_Imagefrontcover_MediaFileLink". You get this:
Now the tricky thing! Press ALT-F9. The placeholders now are showing special instructions that you could edit:
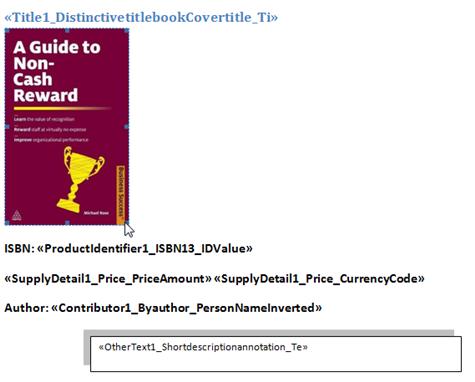
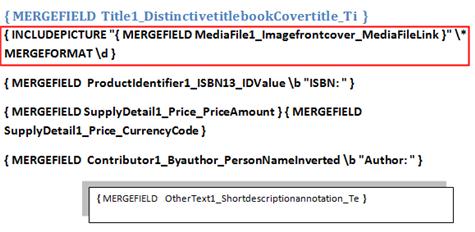
Delete completly the picture name 9780749460969.jpg leaving just the double quotes "". Now select the placeholder «MediaFile1_Imagefrontcover_MediaFileLink» and drag it between the double quotes. You get this result:
Type ALT-F9 again to get back to the normal placeholders presentation. Now, use the Finish & Merge button like you did at the end of step #2. You will get a complete catalog but every picture will be the same. You need to force Word to make an update. To do so, press CTRL-A and then F9. Here is the result:

You can use this technique to create any kind of reports, lists and catalogs by repurposing your ONIX metadata. Have fun!
Updated on March 2014: You can now create reports from ONIX files with the new ONIXEDIT Report Builder.